A few months ago, when my workmates from Double Negative were working on Transcendence, I saw them using Houdini to create such a beautiful animations using tiny geometries. They were like millions of small cubes building shapes and forms.
Some time later other people started doing similar stuff with Maya's XGen and other tools. I tried it and it works like a charm.
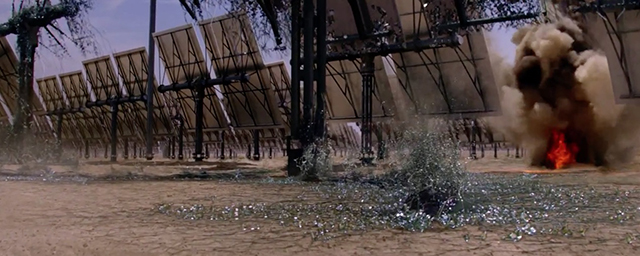
Frame from Transcendence.
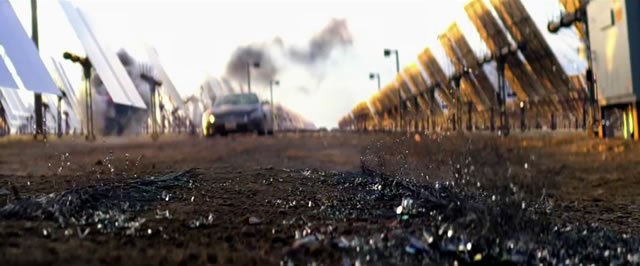
Frame from Transcendence.
I was curious about these images and then decided to recreate something similar, but I wanted to do it in a simpler and quicker way. I found out that combining Cinema 4D and Maya is probably the easiest way to create this effect.
If you have any clue to do the same in Modo or Softimage, please let me know, I'm really curious.
This is my current approach.
In Cinema 4D create a plane with a lot of subdivisions. Each one of those subdivisions will generate a cube. In this case I’m using a 1000cm x 1000cm plane with 500 subdivisions.
Create a new material and assign it to the plane.
Select the plane and go to the menu Simulate -> Hair objects -> Add hair.
If you zoom in you will see that one hair guide is generated by each vertex of the plane.
In the hair options reduce the segments guides to 1 because we just need straight guides we don’t care about hair resolution.
Also change the root to polygon center. Now the guides growth from each polygon center instead of each vertex of the plane.
Remove the option render hair (we are not going to be rendering hairs) from the generate tab. Also switch the type to square.
Right now we can see cubes instead of hair guides, but they are so thin.
We can control the thickness using the hair material. In this case I’m using 1.9 cm
Next thing would be randomising the height. Using a procedural noise would be enough to get nice results. We can also create animations very quickly, just play with the noise values.
Remove the noise for now. We want to control the length using a bitmap.
Also hide the hair, it’s quicker to setup if we don’t see the hair in viewport.
In the Plane material, go to luminance and select a bitmap. Adjust the UV Mapping to place the bitmap in your desired place.
In the hair material, use the same image for the length parameter.
Copy the same uv coordinates from the plane material.
Add a pixel effect to the texture and type the number of pixels based on the resolution of the plane. In this case 500
Do this in both materials, the plane and the hair. Now each cube will be mapped with a small portion of the bitmap.
Display the hair system and voila, that’s it.
Obviously the greater contrast in your image the better. I strongly recommend you to use high dynamic range images, as you know the contrast ratio is huge compared with low dynamic images.
At this point you can render it here in C4D or just export the geometry to another 3D software and render engine.
Select the hair system and make it editable. Now you are ready to export it as .obj
Import the .obj in your favourite 3D software. Then apply your lighting and shaders, and connect the image that you used before to generate the hair system. Of course, you can control the color of the hair system using any other bitmap or procedurals.
In order to keep this work very simple, I’m just rendering a beauty pass and an ambient occlusion pass, but of course you can render as many aov’s as you need.
I also animate very quickly the translation of the hair system and added motion blur and depth of field to the camera to get a more dynamic image, but this is really up to you.
This is just the tip of the iceberg, with this quick and easy technique you can create beautiful images combining it with your expertise.