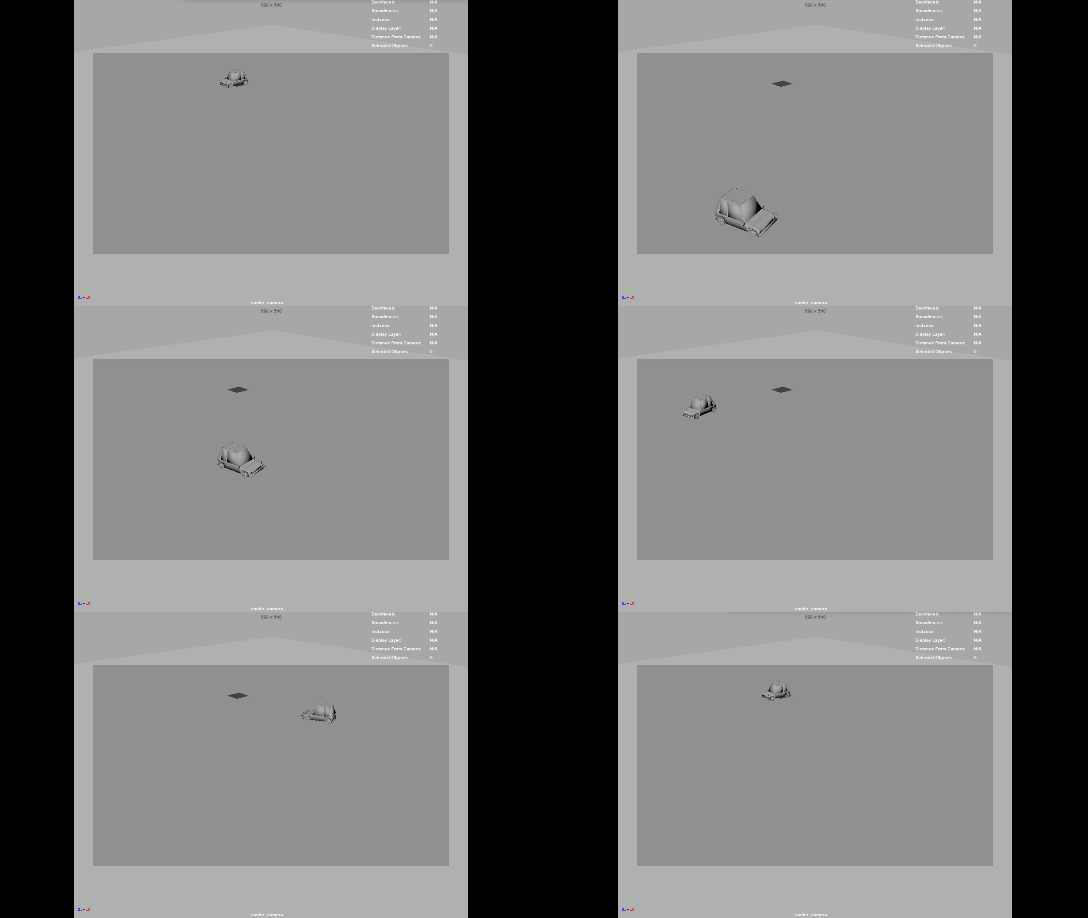
One of the most common situations while lighting a shot is attaching a CG light in your scene assembler to an alemic cache exported from Maya. This is very simple to do in Katana, let’s have a look at it.
I’m using this simple animation of a car spining around.
In most cases you need an object within the alembic cache that has the animation baked into it. The usual approach is to use a locator. To do so, snap it onto one of the lights geometry of the car and parent constrain it to the master control of the car. Then bake the animation of the locator and export it with the rest of the alembic cache to Katana.
In Katana, create a gafferThree node but do not place any lights yet. It is better to do the constraints first, if not you might have to deal with offset issues later on.
Use a parentChildConstraint node indicating the gaffer node in the basePath and the locator of the car in the target.
Now place both headlights according with the model of the car. If you press play they should follow the animation of the car perfectly.
In case you forget to do the parentConstraint before adding lights to the gaffer, you might have to control the offset and compensate for it. To actually see the values you can add constraintResolve and a transformEdit to check the transformations.

