New trailer for Maleficent, one of my latest projects at MPC.
Looking terrific!
Fixing “nadir” in Nuke /
Sometimes you may need to fix the nadir of the HDRI panoramas used for lighting and look-development.
It’s very common that your tripod is placed on the ground of your pictures, specially if you use a Nodal Ninja panoramic head or similar. You know, one of those pano heads that you need to shoot images for zenit and nadir.
I usually do this task in another specific tools for VFX panoramas like PtGui, but if you dont’ have PtGui the easiest way to handle this is in Nuke.
It is also very common when you work on a big VFX facility, that other people work on the stitching process of the HDRI panoramas. If they are in a hurry they might stitch the panorama and deliver it for lighting forgetting to fix small (or big) imperfections.
In that case, I’m pretty sure that you as lighting or look-dev artist will not have PtGui installed on your machine, so Nuke will be your best friend to fix those imperfections.
This is an example that I took while ago.One of the brackets for one of the angles. As you can see I’m shooting remote with my laptop but it’s covering a big chunk of the ground.
When the panorama was stitched, the laptop became a problem. This panorama is just a preview, sorry for the low image quality.
Fixing this in an aquirectangular panorama would be a bit tricky, even worse if you are using a Nodal Ninja type pano head.
So, find below how to fix it in Nuke. I’m using a high resolution panorama that you can download for free at akromatic.com
- First of all, import your equirectangular panorama in Nuke and use your desired colour space.
- Use a spherical transform node to see the panorama as a mirror ball.
- Change the input type to “Lat Long map” and the output type to “Mirror Ball“.
- In this image you can see how your panorama will look in the 3D software. If you think that something is not looking good in the “nadir” just get rid of it before rendering.
- Use another spherical transform node but in this case change the output type to “Cube” and change the rx to -90 so we can see the bottom side of the cube.
- Using a roto paint node we can fix whatever you need/want to fix.

- Take another spherical transform node, change the input type to “Cube” and the output type to “Lat Long map“.
- You will notice 5 different inputs now.
- I’m using constant colours to see which input corresponds to each specific part of the panorama.
- The nadir should be connected to the input -Y
- The output format for this node should be the resolution of the final panorama.
- I replace each constant colour by black colours.
- Each black colour should have also alpha channel.
- This is what you get. The nadir that you fixed as a flat image is now projected all the way along on the final panorama.
- Check the alpha channel of the result.
- Use a merge node to blend the original panorama with the new nadir.
- That’s it, use another spherical transform node with the output type set to Mirror Ball to see how the panorama looks like now. As you can see we got rid of the distortions on the ground.
New Maleficent trailer /
Disney has released a new trailer for Maleficent, where you can see some of the character work that we did at MPC.
P-maps /
P-maps or position maps are one of those render passes that can save your life sometimes. They are really useful for compositing artist, matte painters or texture artists. You can save a lot of time rendering p-maps out from your rendering engine and avoid those tiny changes in a 3D software to rely on 2D or 2.5D techniques.
I personally use p-maps for different purposes, let me tell you some of them.
To place cards or another 2,5D or 3D elements
- This is the render that I’m using for this small article. Nothing fancy there, just a few cubes and a couple of direct lights. This image has been rendered in Maya and V-Ray but of course you can render p-maps with any other combination of 3D program and render engine.
- As additional render passes for this image I got the “normal pass” and the “world position pass”. You probably know that there are three different p-maps: World position, camera position and object position. They can be used for different purposes but all of them have the same kind of information, which is position.
As they name says, one is the position information based on the world centre, the second one has the position in relationship with the camera, and the third one the position based on the centre of the object.
You can render out all of them if you need, but for this example I’m going to use only world position map. All the techniques shown here can be extrapolated to the other maps. - This image is an .exr with all the render passes embedded so you can easily switch between them.
- This is how the world position map looks like.
- And this is how the normals pass looks like.
- Use a shuffle node to read the p-map. If you need to un-premultiply it you can do it before the shuffle.
- Use a position to points node to read the p-map and convert it to a 3D view.
- Now you can move around the scene like any 3D software. This is extremely useful if you need to place any 2,5D or 3D element, like cards for example. Cards are extremely useful to place matte paintings, animated 2D elements, etc. You don’t need to guess anymore, just place your card in the right position.
To re-lit completely your scene
- This is how your scene looks like out from the render package.
- As we did before shuffle the p-map.
- Take a re-light node. Connect the rgb to the color and the shuffle to the material. Then tweak the re-light node and select the normals and the point position.
- Finally create a camera node and a scene node. Hook them all to the re-light node.
- Now create a light node and connect it to the scene node. Play with the light to re-lit your scene.
- As we see before, you can use your 3D scene to place the light.
To add subtle lighting information (or not that subtle)
- Use a p-matte node to input your p-map and to output the information to the alpha channel. If you play with the shape, position and scale you will see the information of your new light in the alpha channel.
- Connect the p_matte to the mask input of a grade node and play with it to tweak the intensity and color of the light.
- Use a plus node to add as many lights as you need.
- Of course you can help yourself to place the lights using the 3D view provided by the p-maps.
To project through camera
- Projecting mattes, smoke, or any other information has never been so easy. Use the 3D view and a 3D camera to project detail on to the current render.
- You can create a new camera or import it from your 3D package.
- Use a re-project node to connect the camera, the image that you want to project (in this case a grid) and use a shuffle node with the p-map to provide vector information.
- Finally I’m using a merge node to combine the grid projection with the original render and it’s being masked out using the embedded alpha from the .exr render.
- Of course you can use the 3D view to place or modify the camera.
Shooting gear for VFX photography /
This is the gear and setup that I’ve using lately for my shootings.
I’ve been shooting in Northern Spain for a few days surrounded by amazing places.
This two images were taken with my iPhone and you can show here all my HDRI for VFX gear to be used “on the go”. The panoramas for this location will be posted on akromatic.com soon.
For now, you can check another panorama taken that same day with the same gear.
Find it below.
More information at akromatic.com
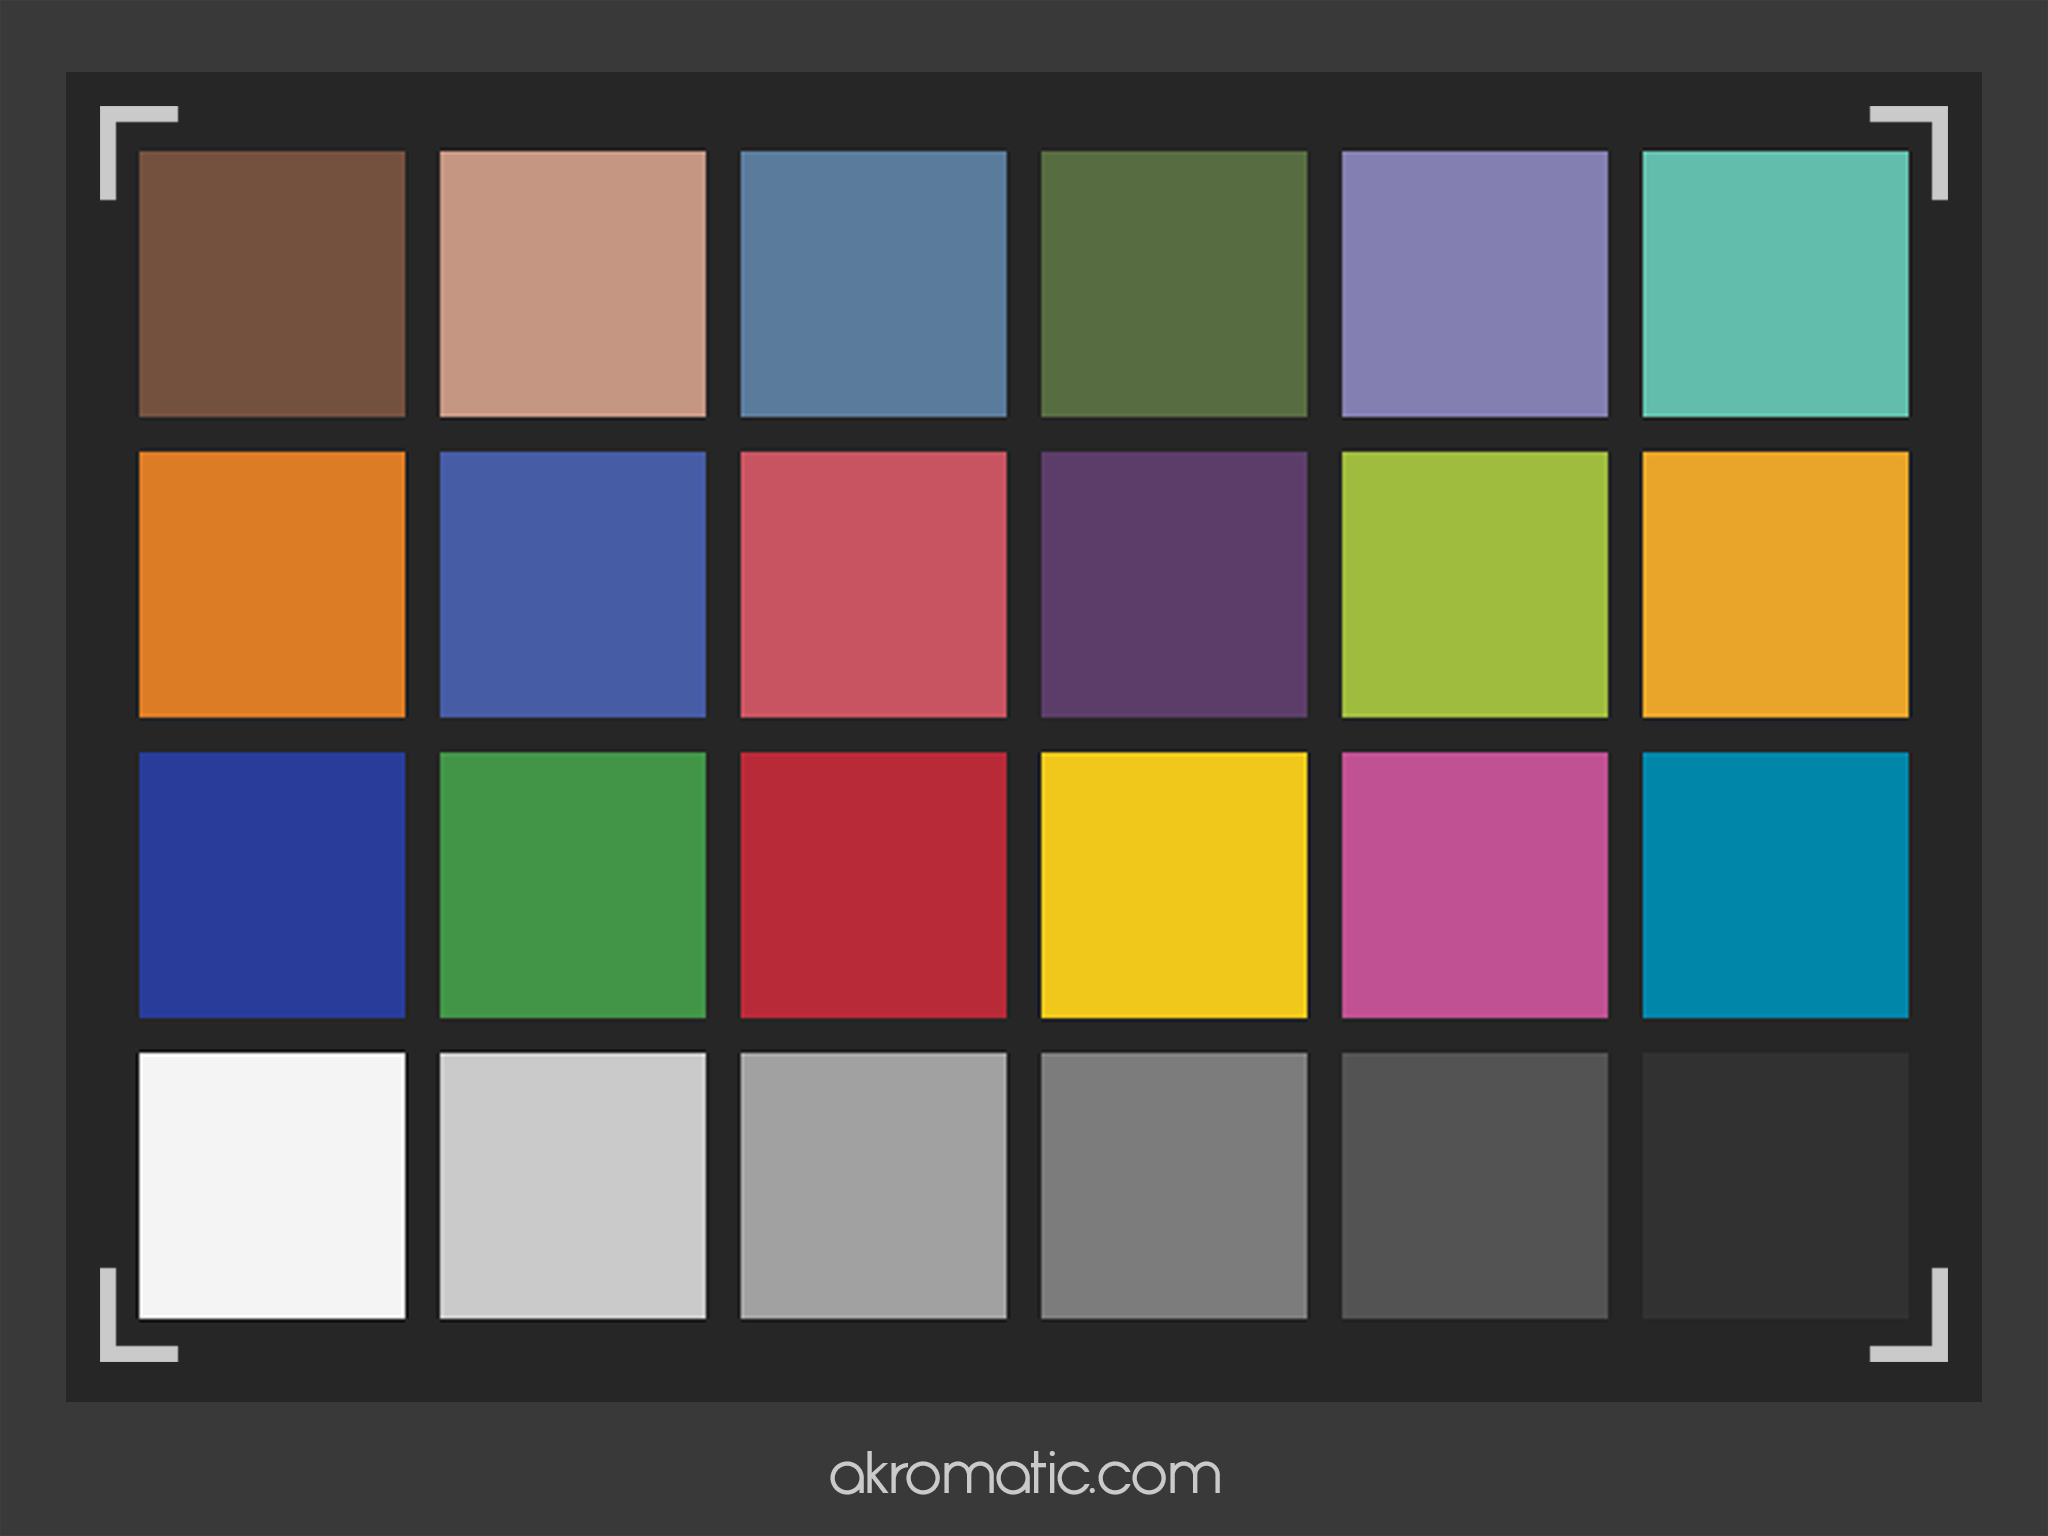
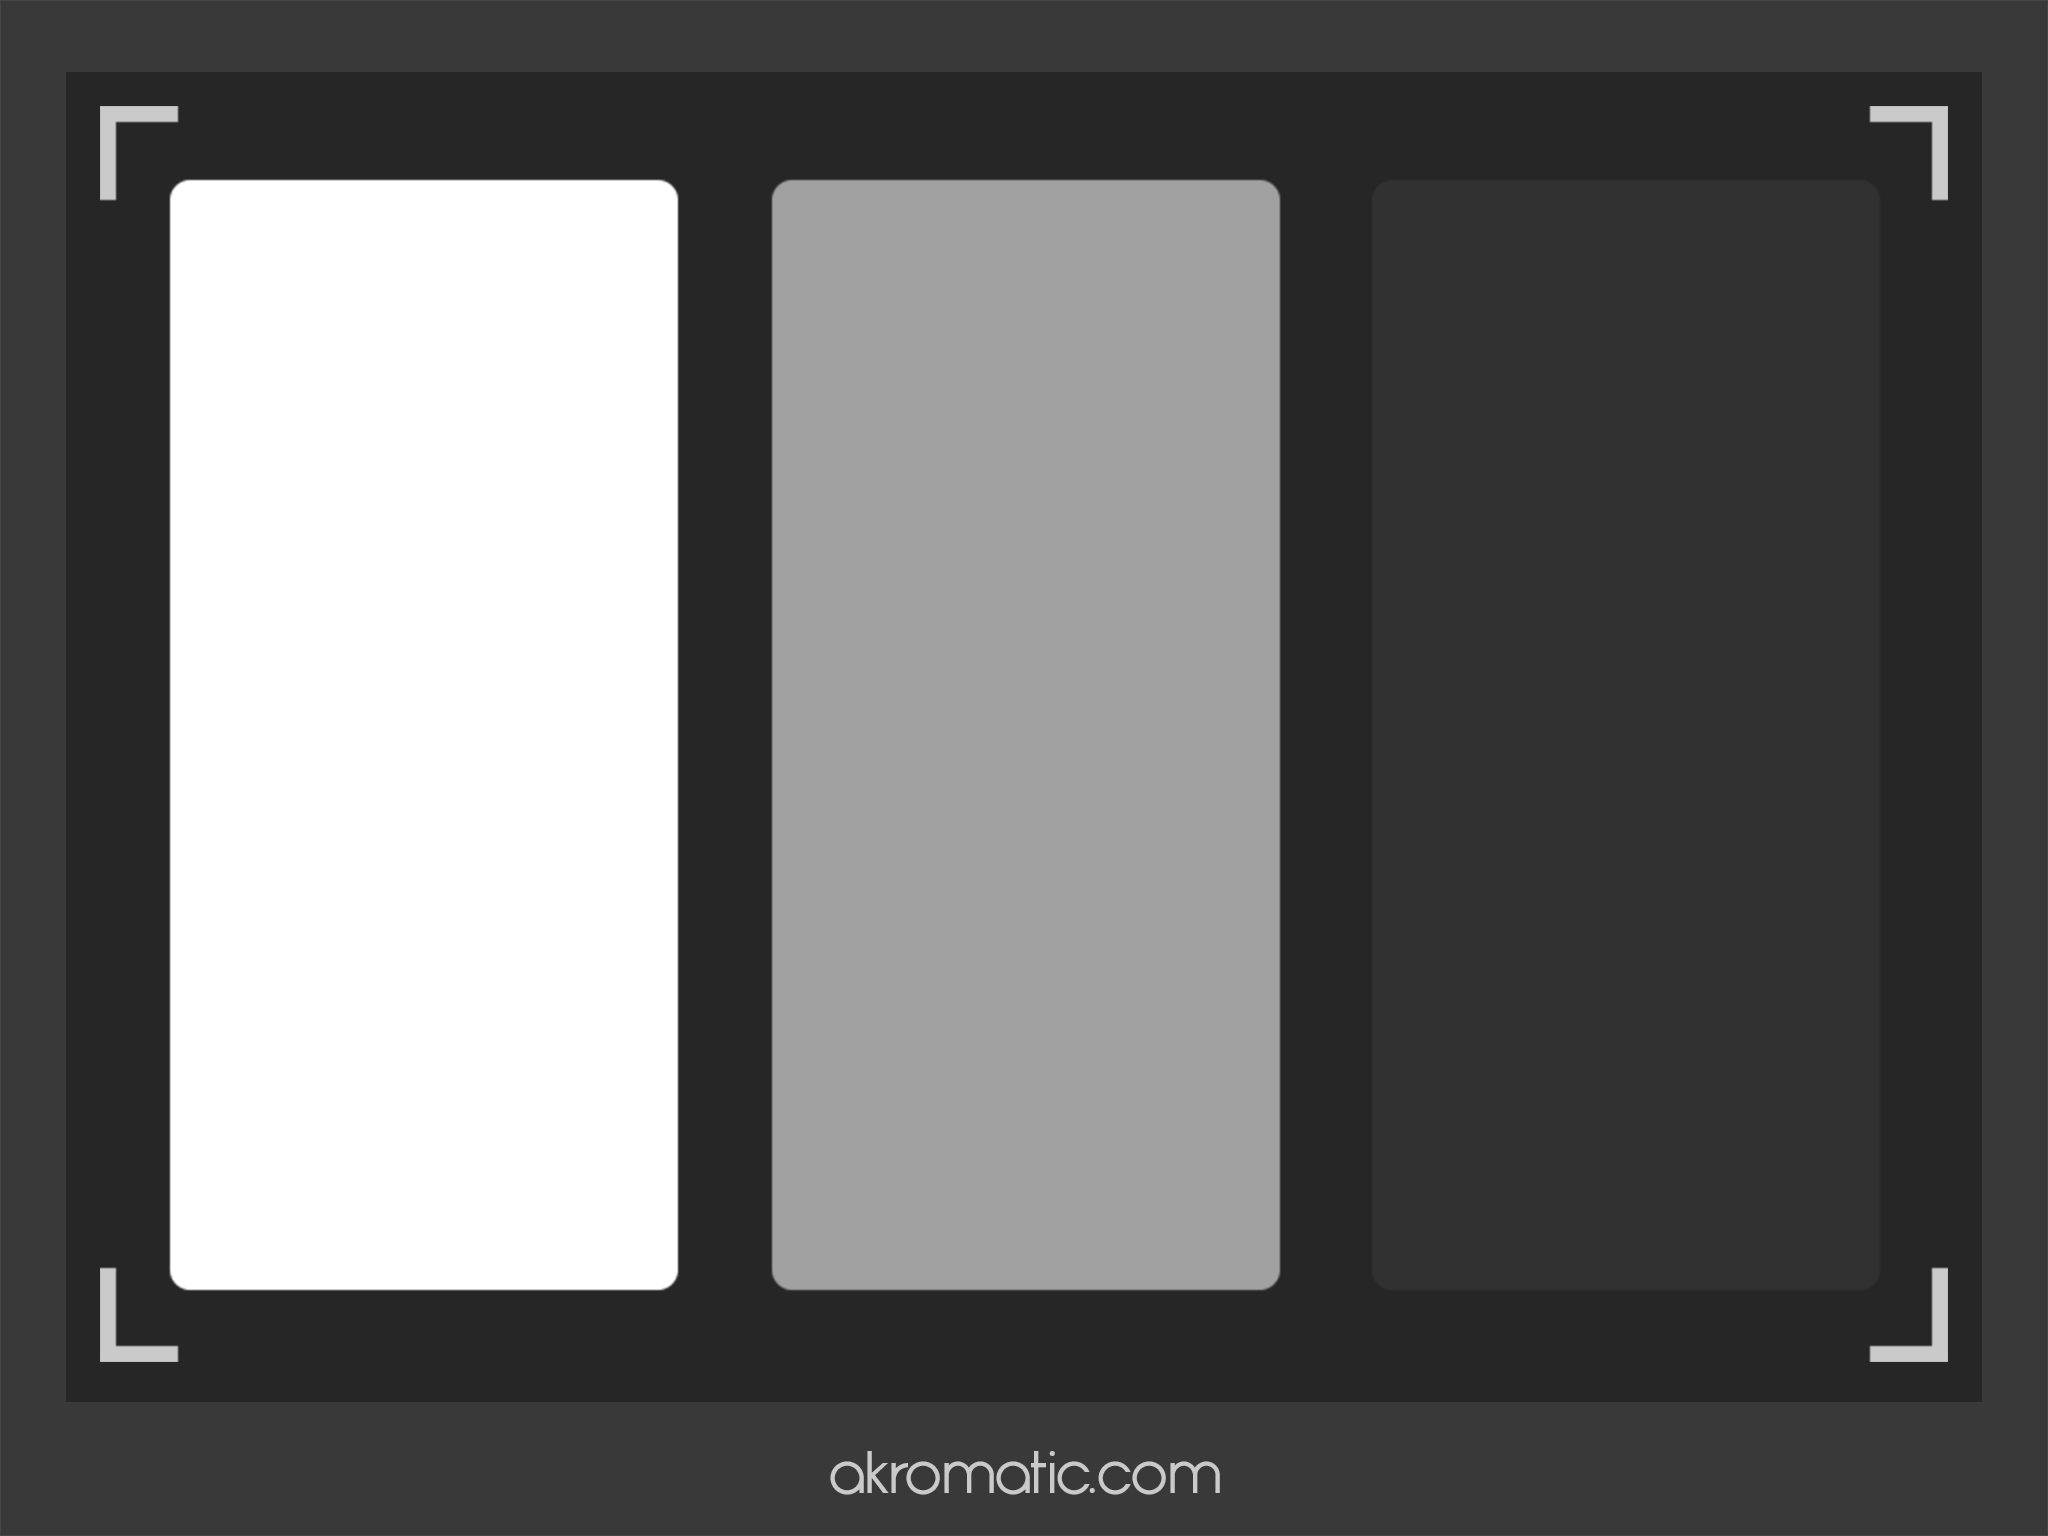
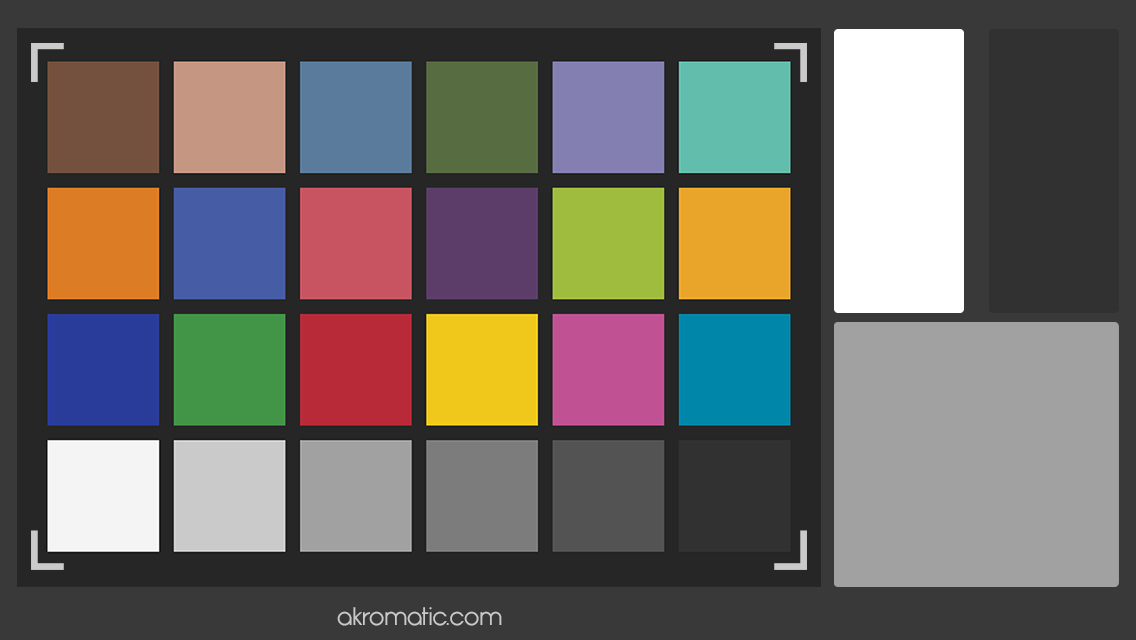
Digital Colour Checkers /
Just in case you forget your real colour checkers, you can download these ones and use them on your iPad mini, iPad air or iPhone.
They don’t replace the original ones but at least, you won’t be completely lost on set.
The only thing you have to do is download the following images and open them in your device.
I recommend using 100% of brightness.
White Balance checker for iPad mini.
MPC Film reel 2012 /
Have you seen the new spectacular reel from MPC?
I worked on some of those shows while I was working there.
First trailer for Godzilla! /
Finally Warner Bros and Legendary have released the first trailer for the new Godzilla, and it’s looking terrific!
I’ve been working hard on this over the last year.
Enjoy!
Zbrush insufficent memory error! /
You have probably experienced this error a few times already, haven’t you?
It is quite common specially when you are working with huge assets.
It happened to me last week a lot of times when working with a 40 UDIM asset and trying to export a 32 bit displacement maps.
My machine couldn’t handle it and Zbrush started to giving error saying “Insufficent memory error”.
If this happens to you and don’t know how to extract your displacement maps out of Zbrush, don’t worry, this small trick could help you.
- Execute Zbrush using your root account in Mac or Administrador account in Windows.
- In Windows just right click on the Zbrush icon and select “run as administrator”.
- In Mac start a terminar and logging as root.
- Then execute Zbrush.
- Then in Zbrush go to Preferences -> Mem and increase the Compact Memory.
- That’s it. It should work now.
- Unfortunately this trick only worked for me with simple displacement, but it didn’t work with vector displacement :(
Zbrush to Maya and Vray 2.0 /
I know how tricky can be sometimes to make your Zbrush displacements look great outside Zbrush.
Maya, Softimage, Vray, Renderman or Arnold, just to name a few treat Zbrush displacements in a different way.
Let me explain to you my way to export displacement from Zbrush to Maya and Vray 2.0
- First of all, if you are working with a final asset you will have to export your displacement using your base geometry imported in Zbrush. If you did the scult from scratch in Zbrush you may want to export your lowest subdivision mesh, create a good uv mapping and re-project your sculpted detail in that mesh.
If this is the case, check this.
- Go to the lowest subdivision level.
- Turn off all your layers.
- Export as .obj
- This is the object that you are about to render. If you had imported a base mesh before, you won’t need to export it again, it would be in your 3D application already.
- Go back to the highest subdivision level.
- Turn on all your layers.
- Go down to the lowest subdivision level.
- Store a new morph target and import the previous exported .obj or your original base mesh from your 3D application.
- Your sculpted model will be substituted by the original mesh with no sculpt information.
- Click on switch morph target to activate again your sculpted mesh.
- You are ready to export the displacement maps, just check my settings below for 16 bits, 32 bits and vector displacement.
- Finally to set-up your shaders and render settings for Zbrush displacements in Maya and Vray 2.0 check my previous post about it.
Maleficent trailer /
Disney has released the first trailer for Maleficent, the last project that I worked on at MPC.
47 Ronin trailer /
Some of the work that we did at MPC in the new 47 Ronin trailer.
akromatic is shipping! /

If you’re a vfx artists, lighter, look-dev artist, vfx photographer, etc. you should know that we are already shipping our great gadgets from akromatic.com
Have a look to the website and choose the one that suits you better.
World War Z VFX Breakdown extended /
It’s live now!
So much fun working on this.
World War Z VFX Breakdown /
Pretty cool World War Z VFX breakdown presented by Max Wood, CG Supervisor at MPC London.
I spent more than a year working on this project while ago.
Enjoy.
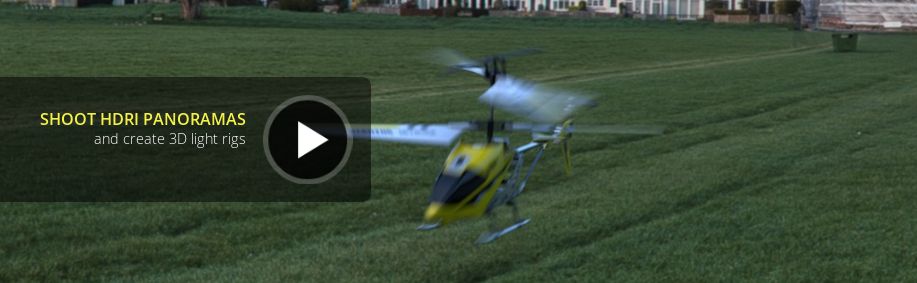
New Tutorial Release – Creating HDRI Environments for 3D Lighting /
My new course for Digital Tutors in out.
What you will learn
In this series of tutorials we will learn how to create HDRI environments for 3D lighting and use them in Maya and V-Ray to light a 3D asset.Throughout the training we will cover the whole lighting process and creating a complete shot from scratch. We will start shooting HDRI on set and we will finish the final shot in NUKE, integrating a 3D asset in a real environment.
By the end of this tutorial you will be able to shot your own HDRI panoramas and create 3D light rigs to light your own projects.
Check it out here.
Arm texture breakdown /
I did a simple and quick texture breakdown for an human arm.
These are the textures that I usually create when I need to texture digital doubles for films or any kind of humanoid character.
These are the most basic textures used.
Usually working on movies we need more additional textures depending on render engines, other pipeline tools or artistic decisions.
But as I said, take this example as a base or starting point for your work.
These are quick renders using a neutral lighting rig for look-dev.
Diffuse textures.
Overall textures.
Scatter textures.
Displacement textures.
Fine displacement textures.
Specular textures.
First images for Godzilla /
The new Gareth Edward’s Godzilla is on it’s way. Legendary has been releasing some material to the public.
Two awesome posters and some pictures from the set.
I’ve been working on this movie for a quite while now at MPC and Dneg.
Seventh Son trailer /
The first trailer and posters for Seventh Son have been released by Legendary.
I worked on this one while ago at MPC.
akromatic lighting checkers /
Some of the lighting checkers that I designed and built for akromatic.
Check them all at http://www.akromatic.com