akromatic
Lighting spheres "tiny" /
Manfrotto Befree for visual effects /
I've been using Manfrotto Befree tripods for a while now, and I just realize that they are a perfect tool for my on-set work.
I rarely use them as primary tripod, specially when working with big and heavy professional DSLRs and multi zoom lenses. In my opinion these tripods are not stable enough to support such as heavy pieces of gear.
I mean, they are if you are taking "normal" photos, but in VFX we usually do bracketing all the time. Like for texturing references, or HDRI's. The combination of the gear, plus the rotation of the mirror plus the quick pace of the bracketing, will result in slightly different brackets. Which obviously mean that the alignment process will not be perfect. I wouldn't recommend using these tripods for bracketing with big camera bodies and multi zoom lenses. I do use them for bracketing with prime lenses such as 28mm or 50mm. They are not that heavy and the tripods seem to be stable enough with these lenses.
I do strongly recommend these tripods for photogrammetry purposes when you have to move around the subject or set. Mirrorless cameras such a Sony A7 or Sony a6000 plus prime lenses are the best combination when you need to move a lot around the set.
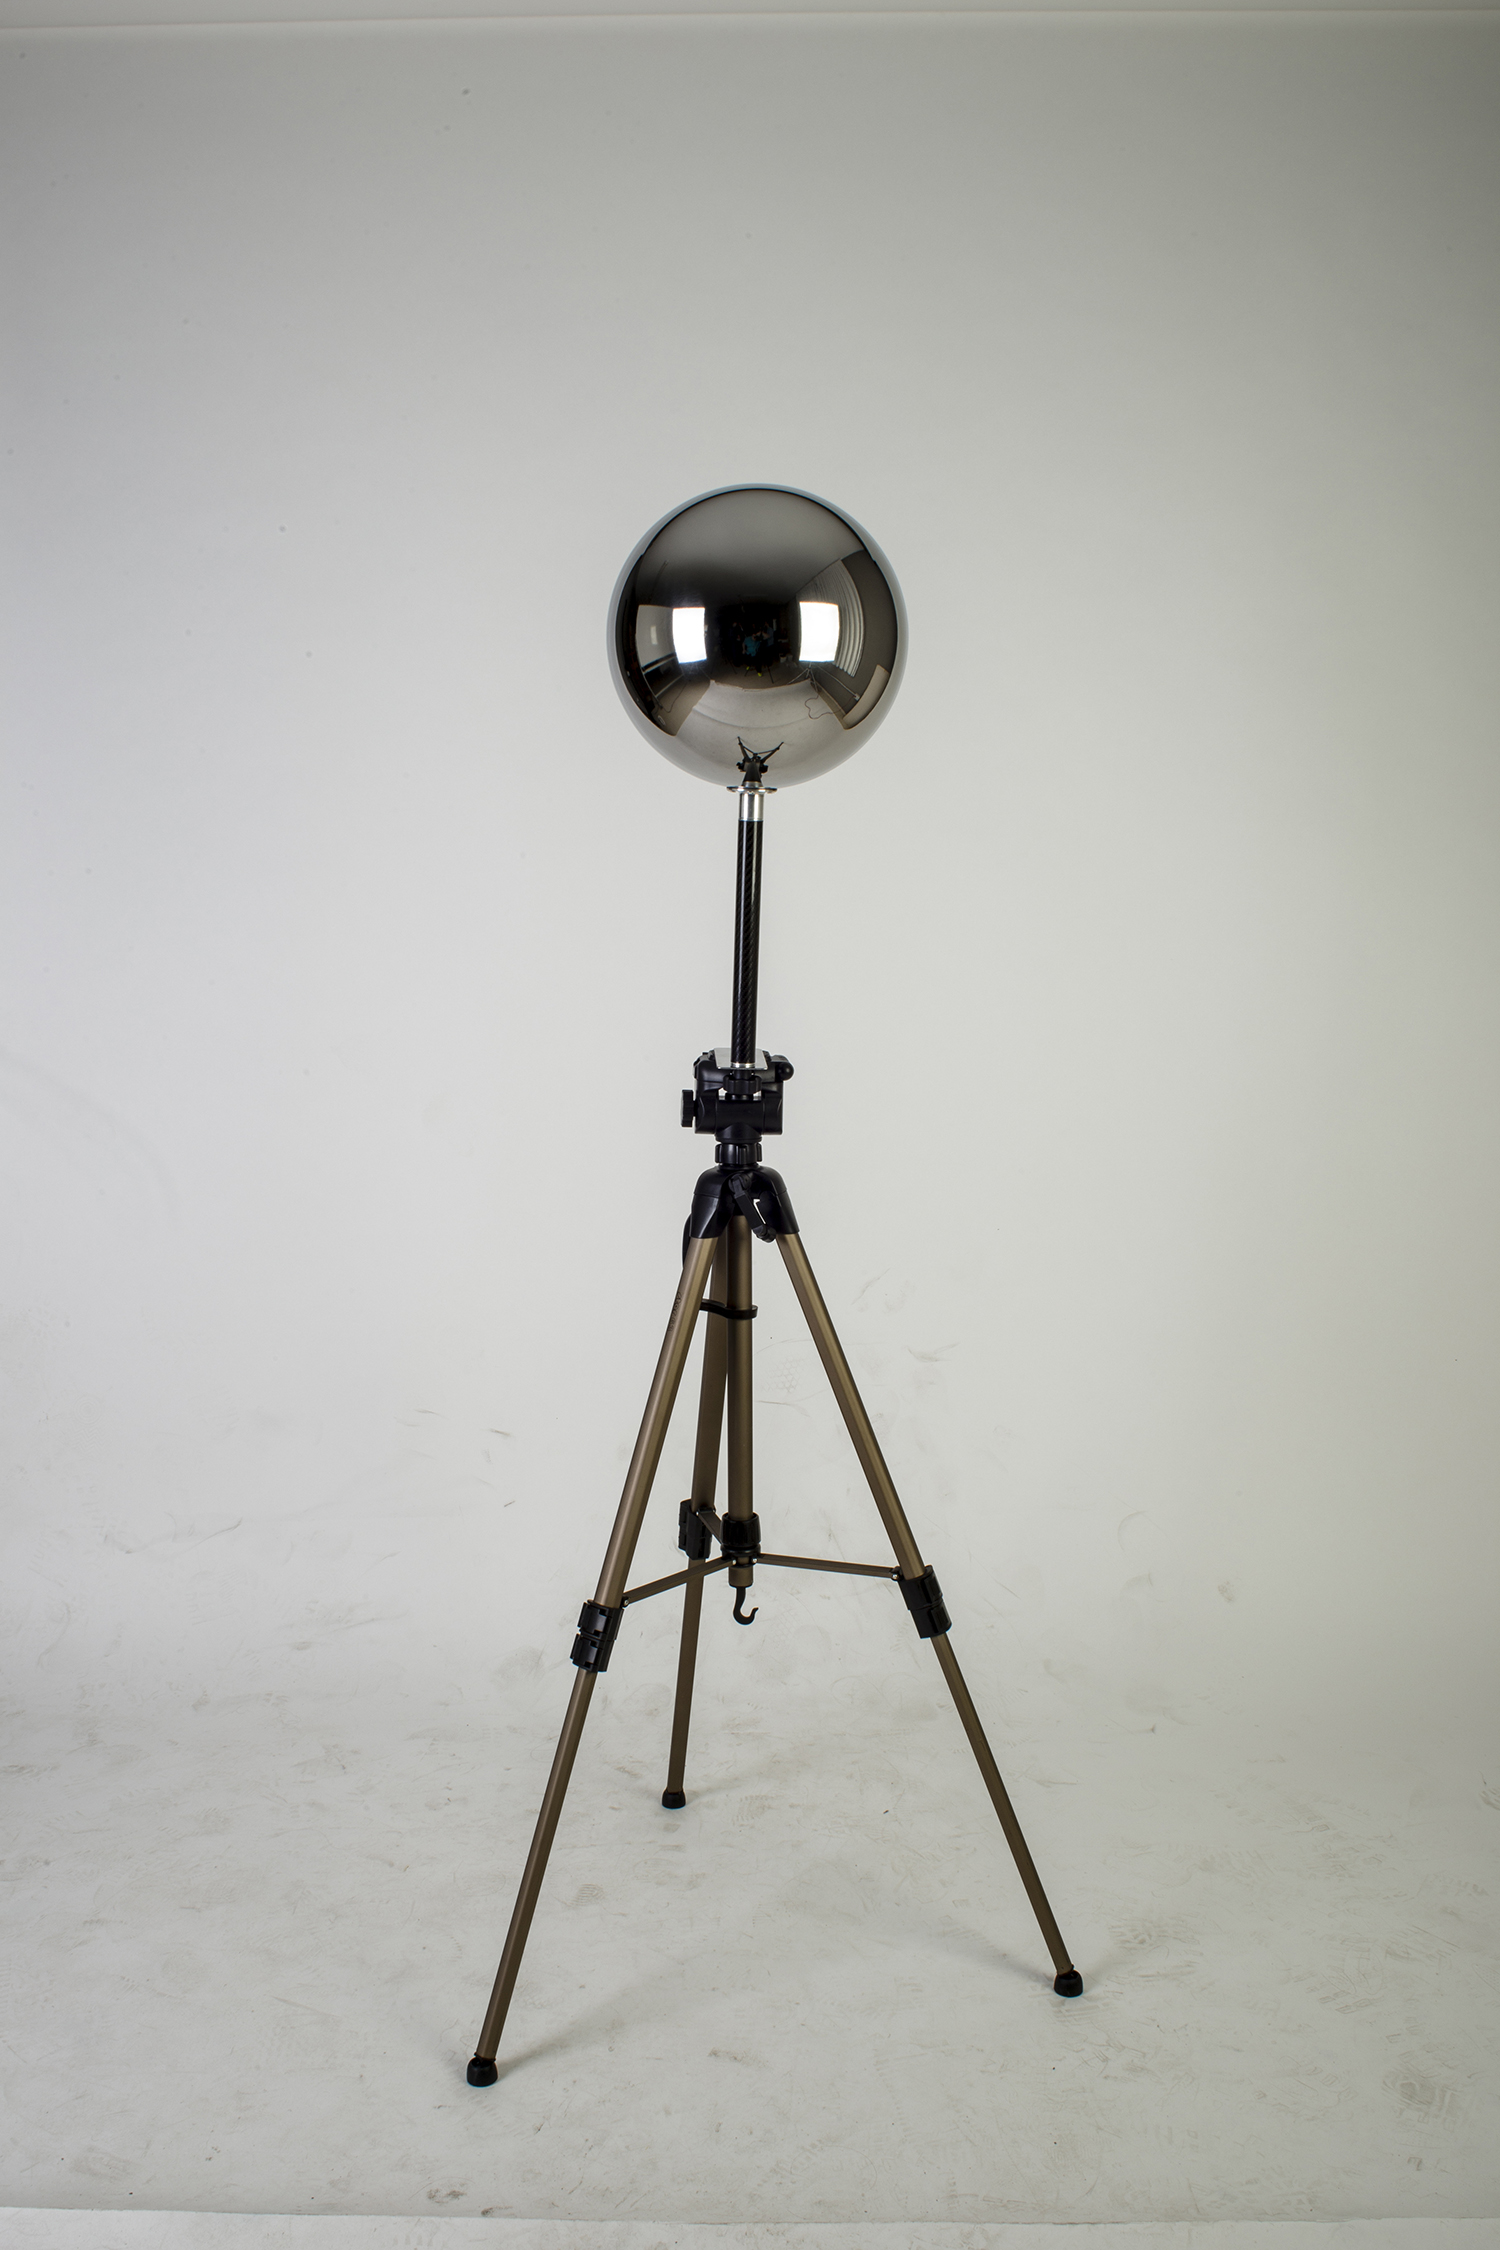
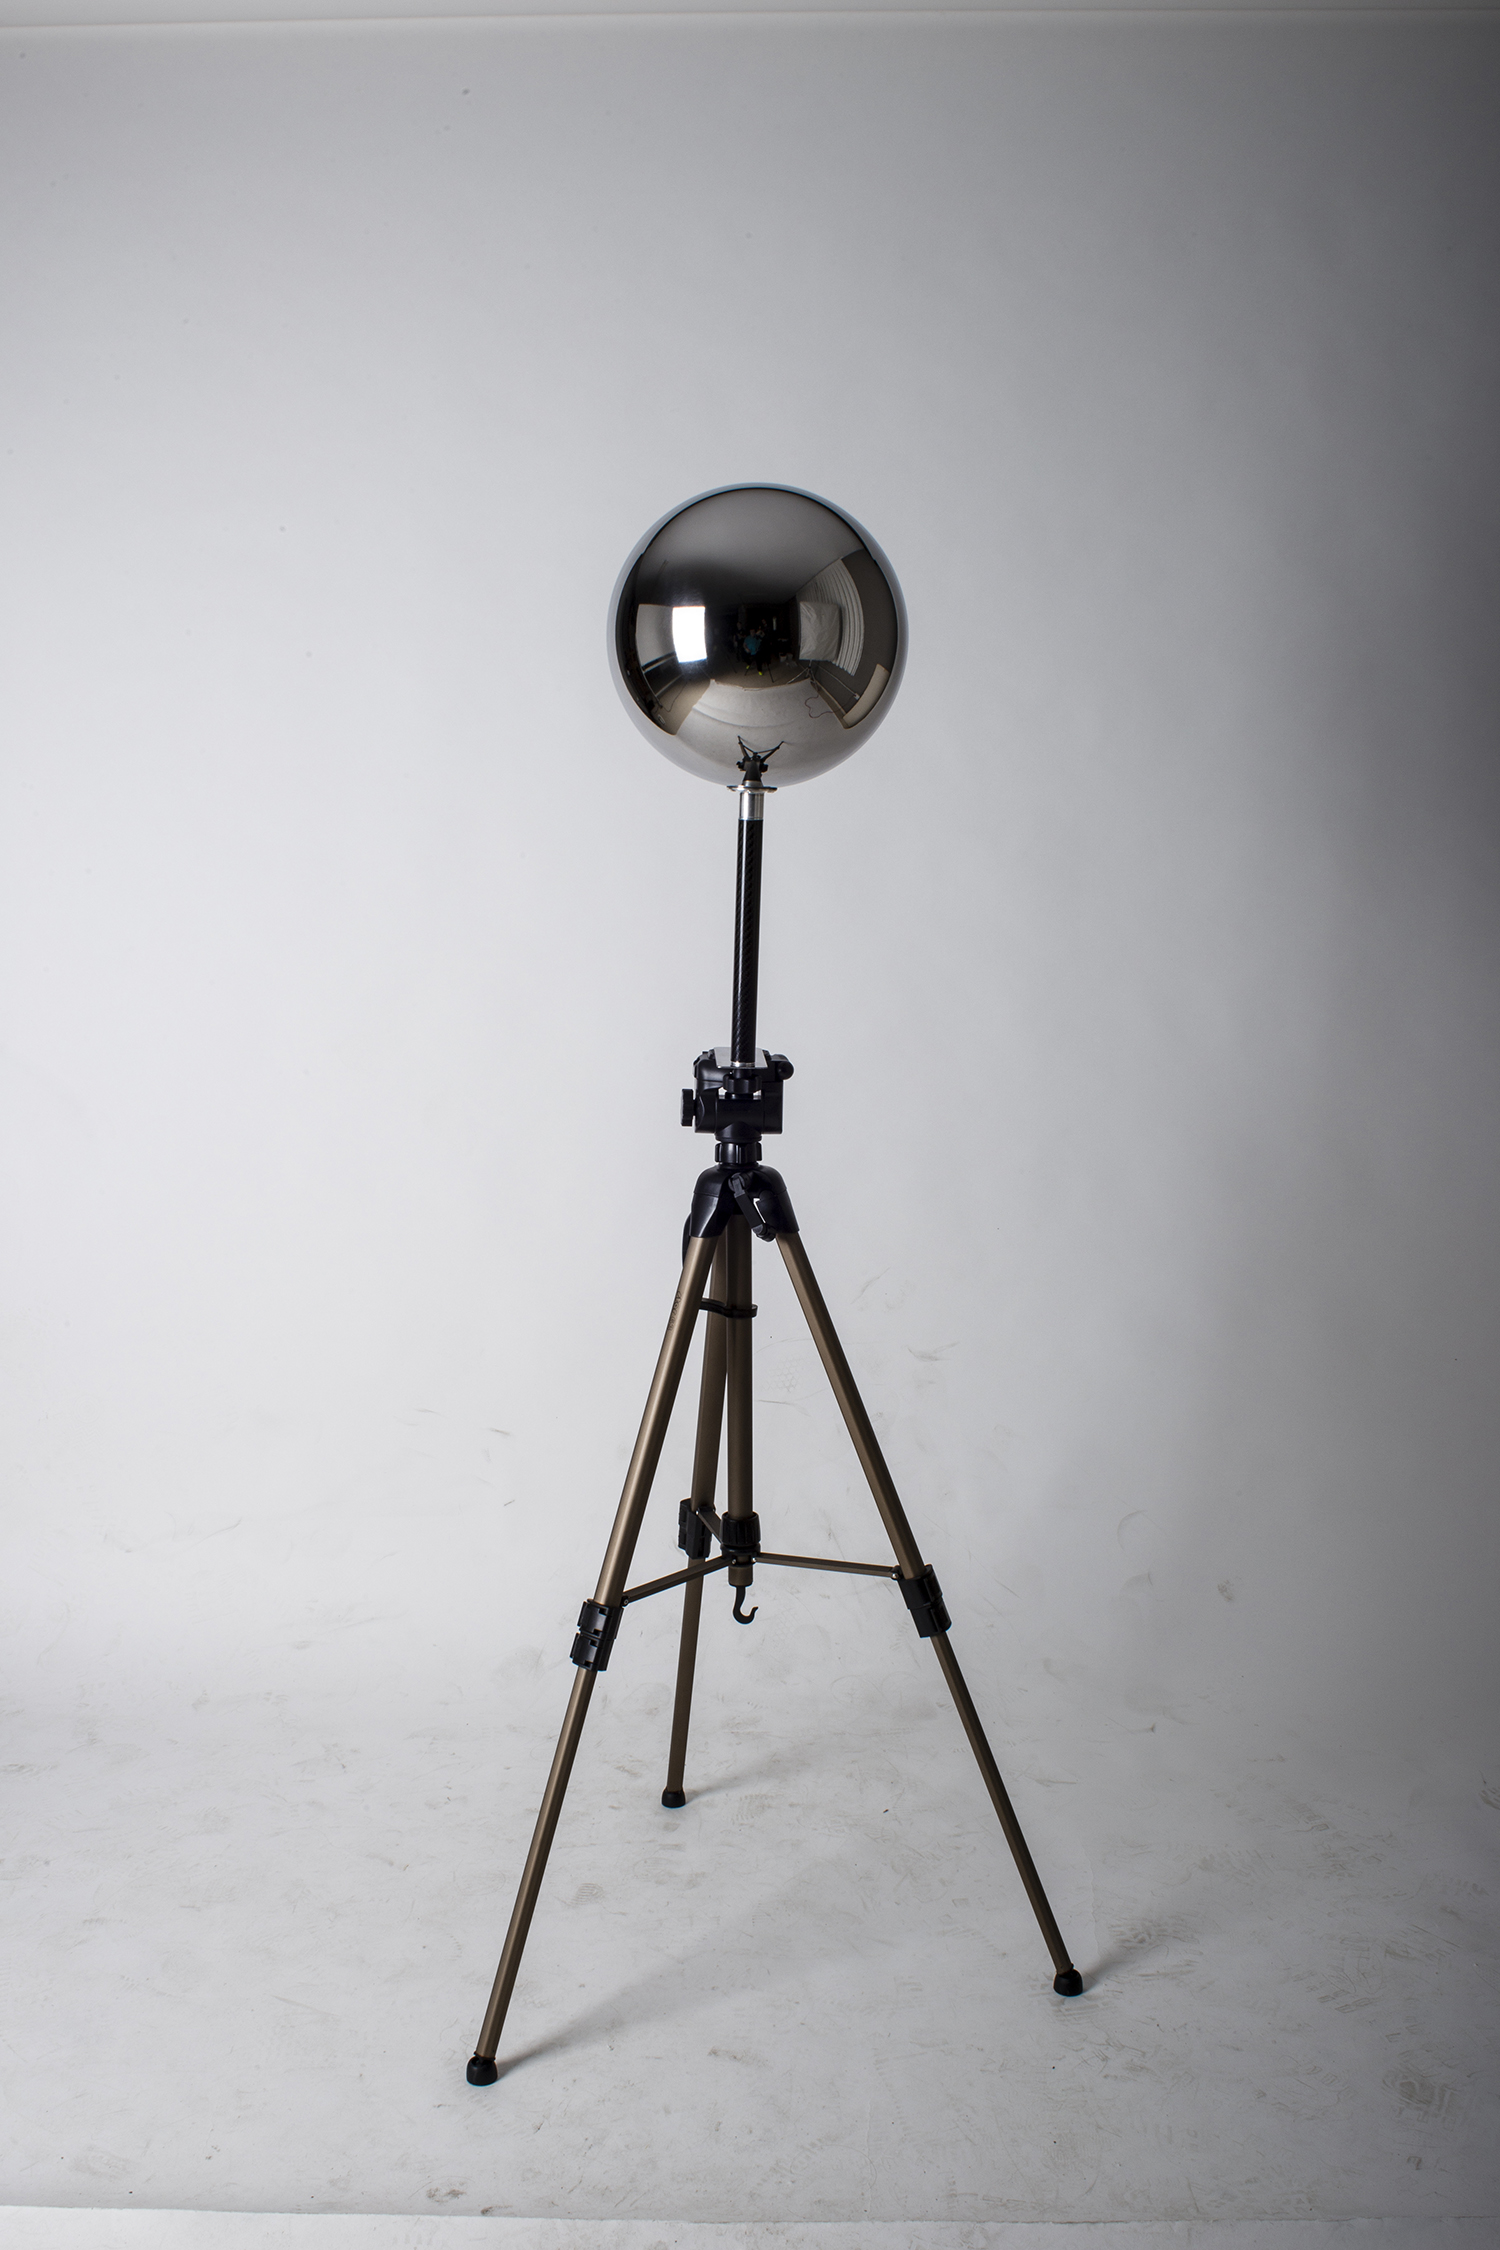
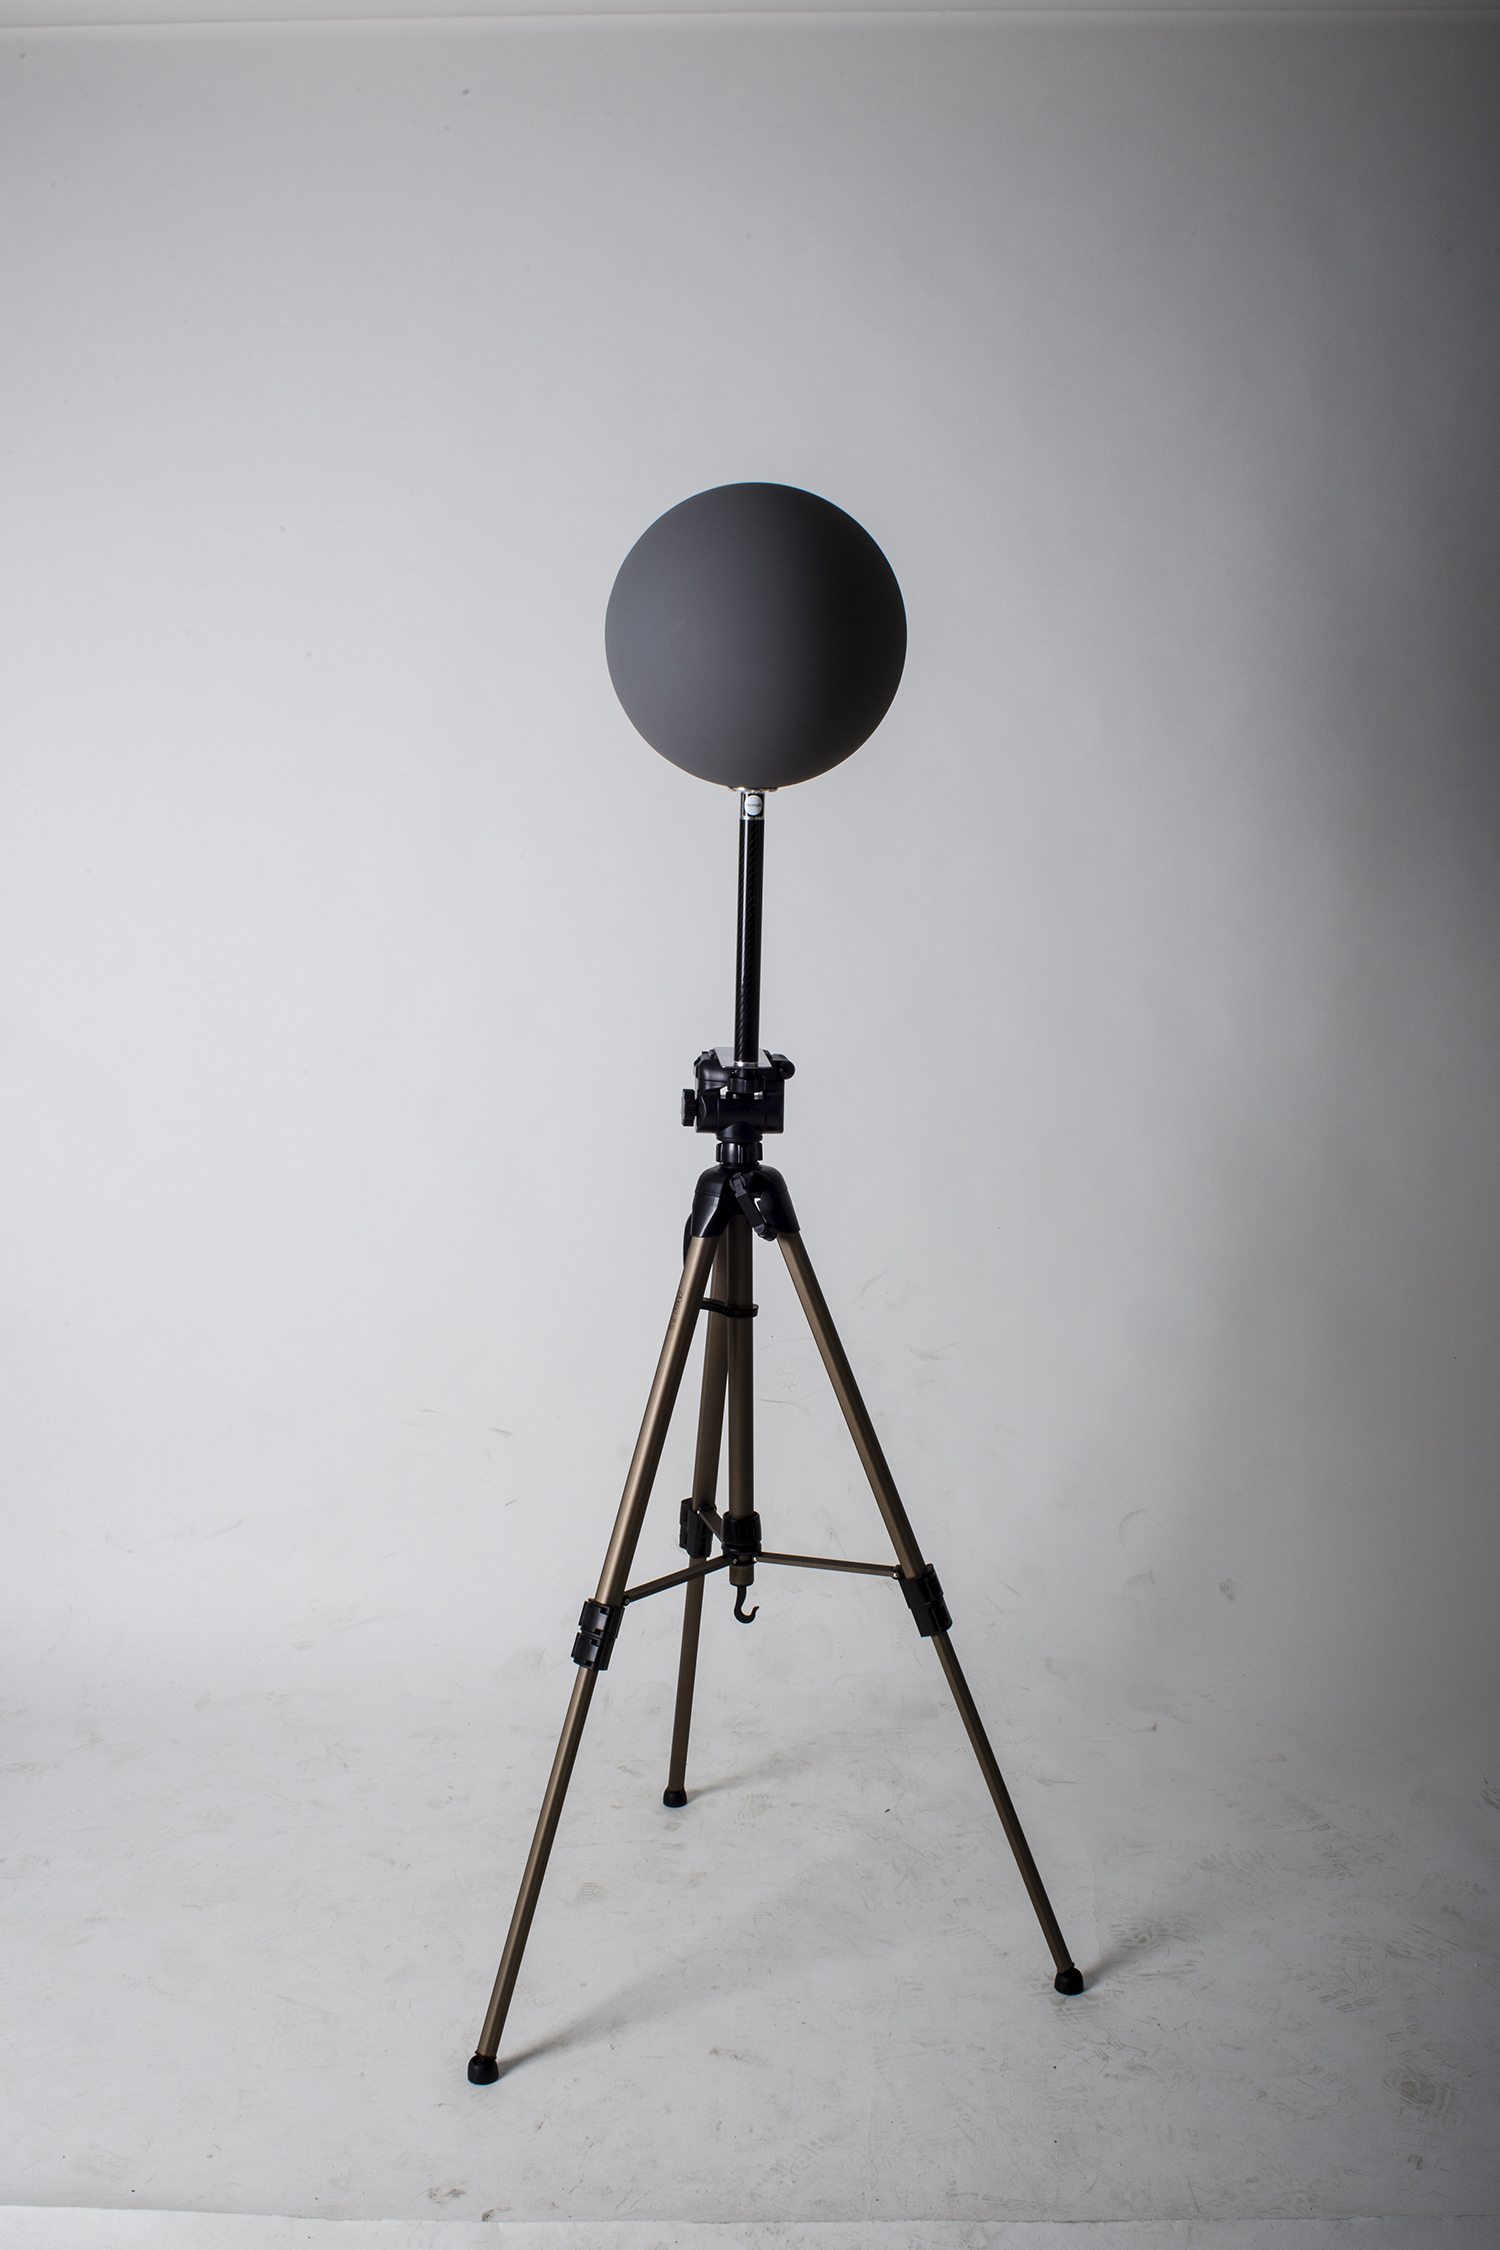
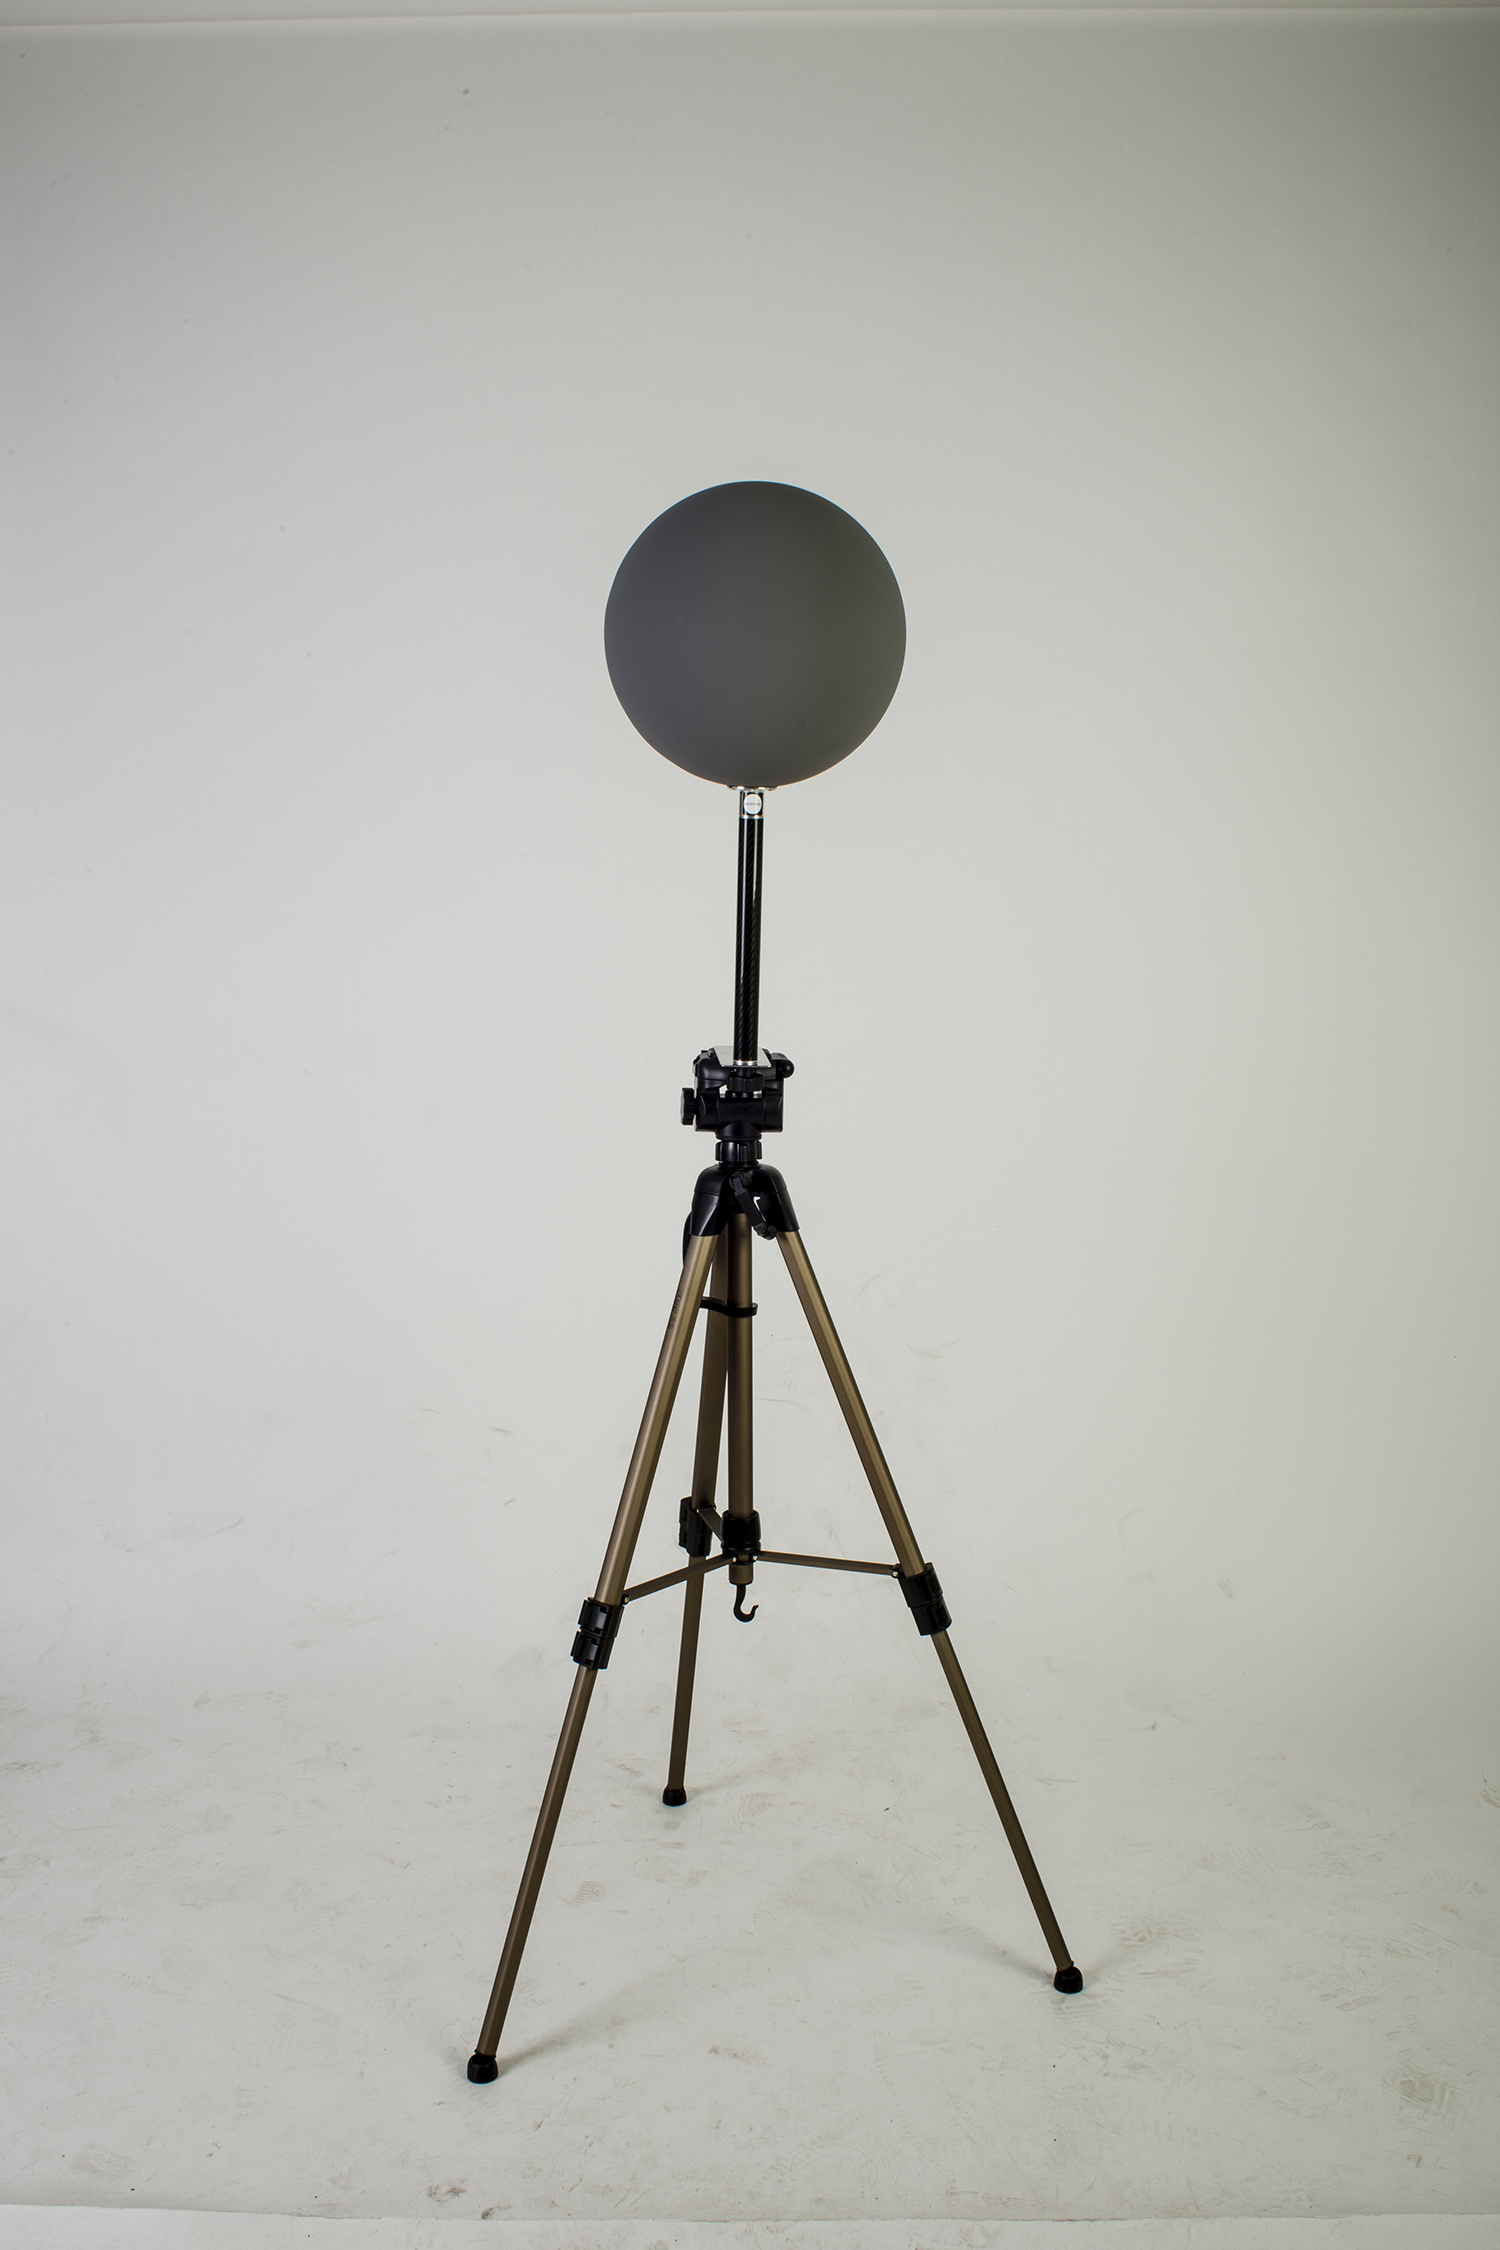
I also use Befree's a lot as support tripods. They just fit perfectly my Akromatic kits, both Mono and Twins. Befree tripods are tiny and light so I can easily move around with two or three and they even fit in my backpacks or hard cases at once.
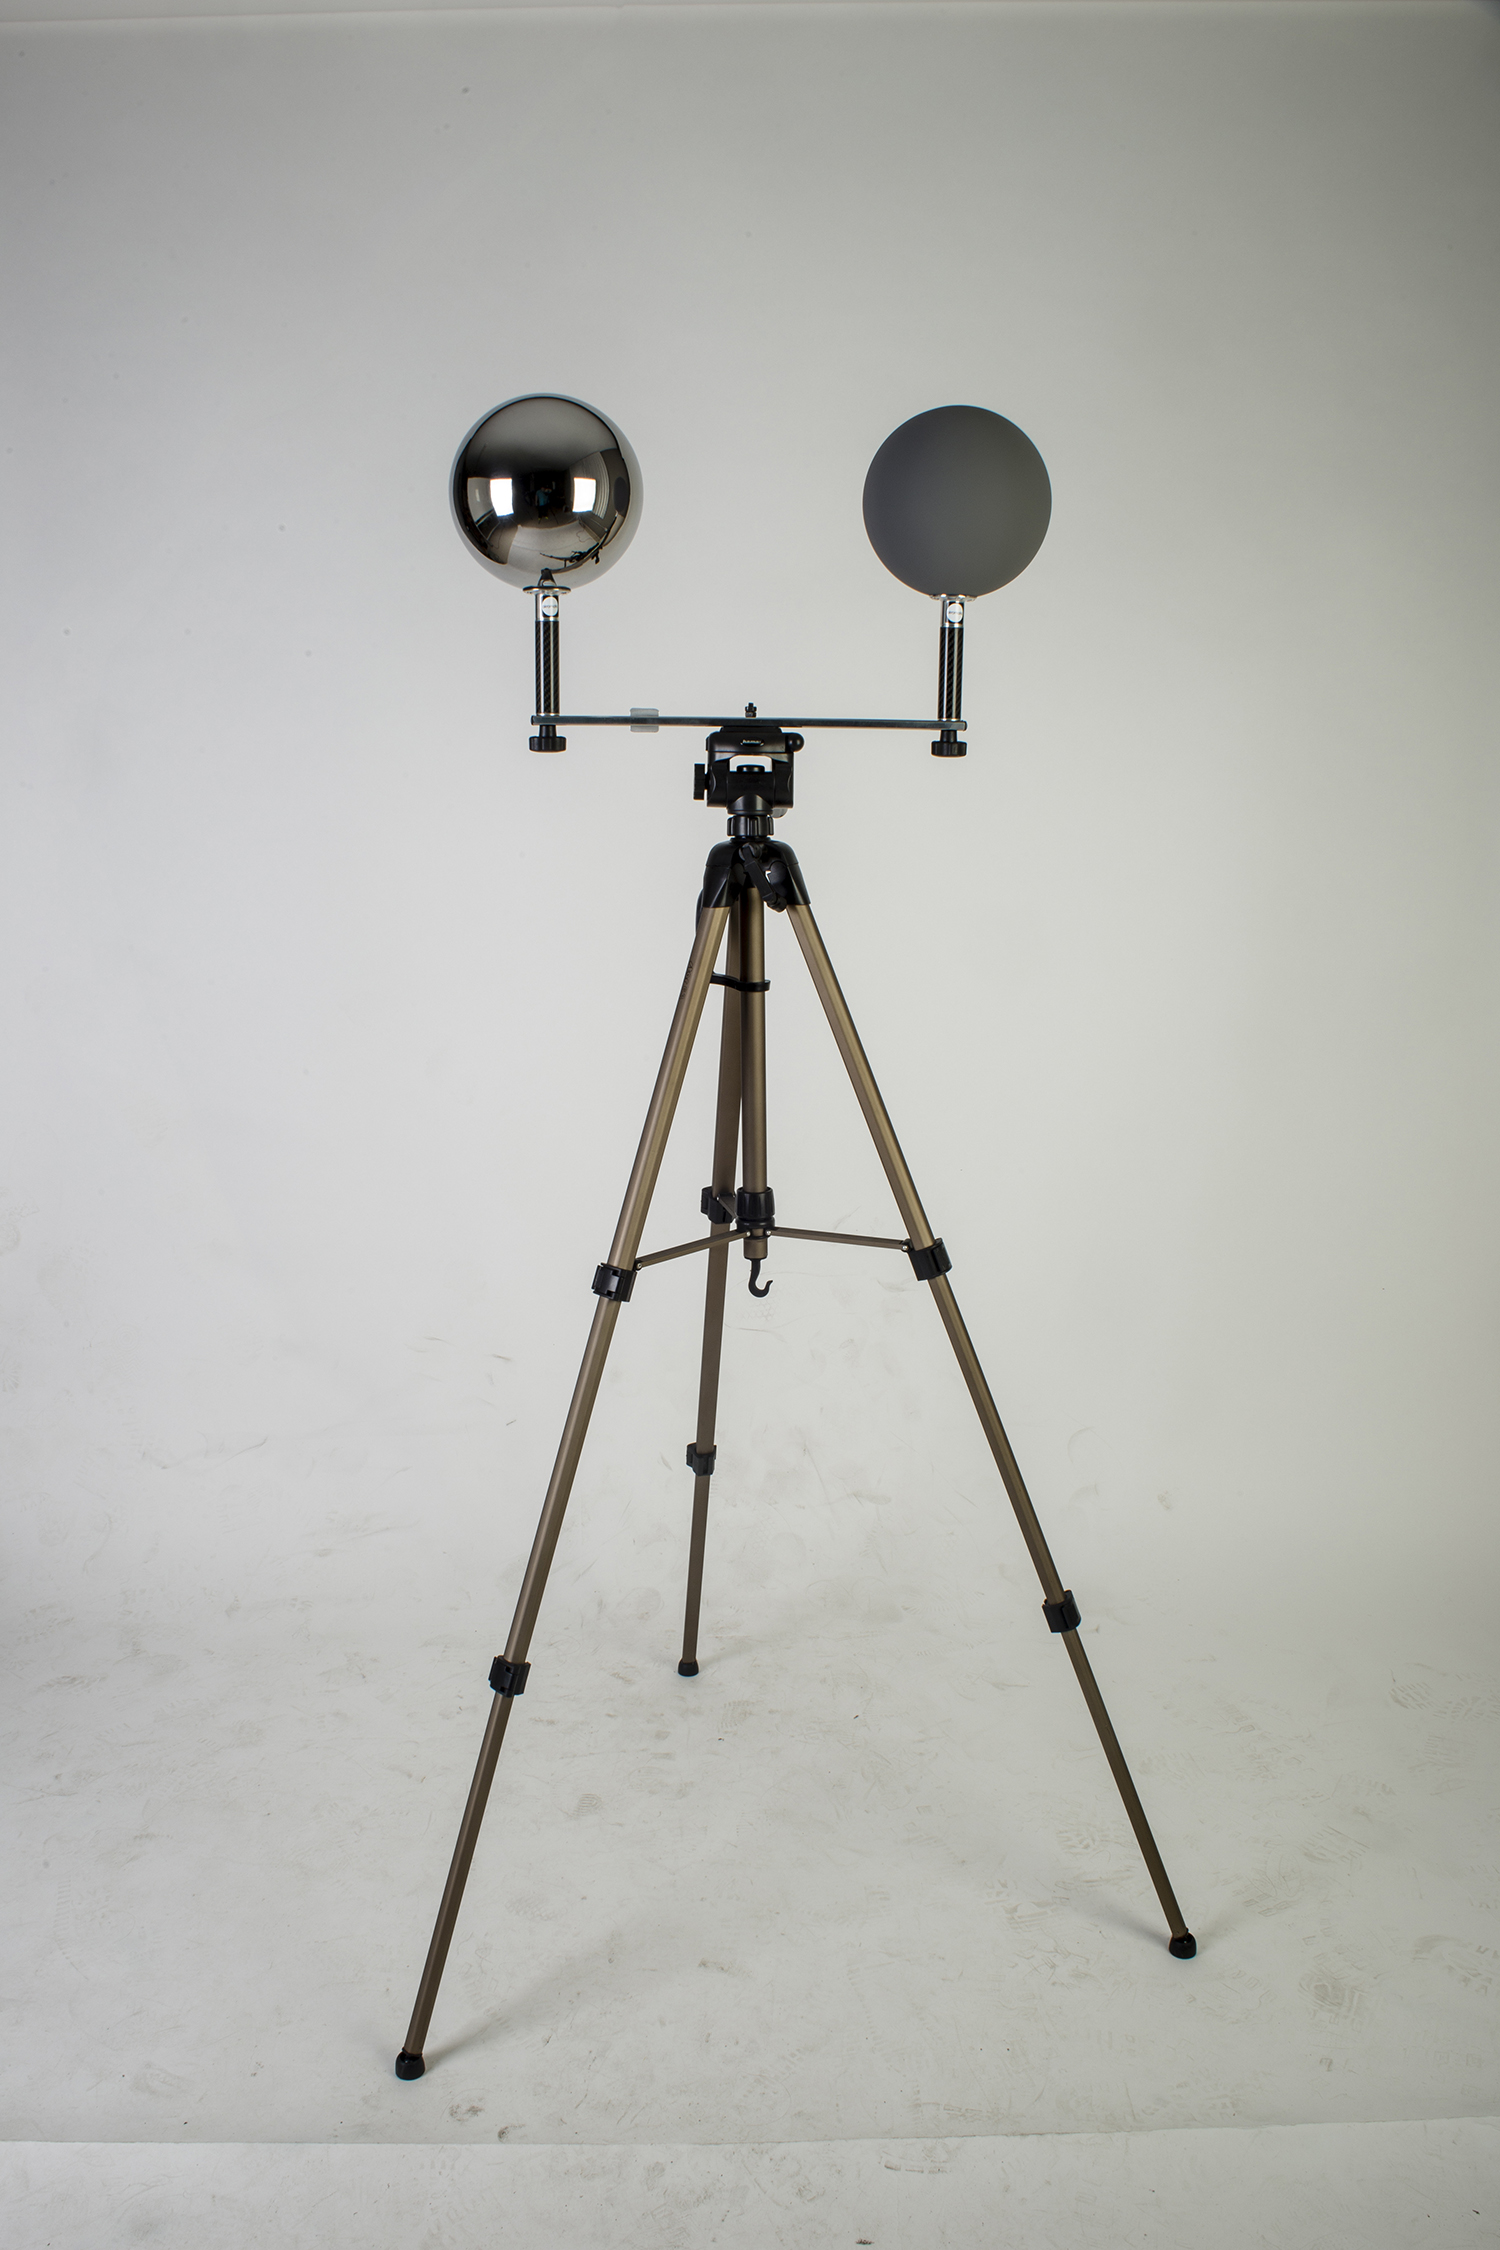
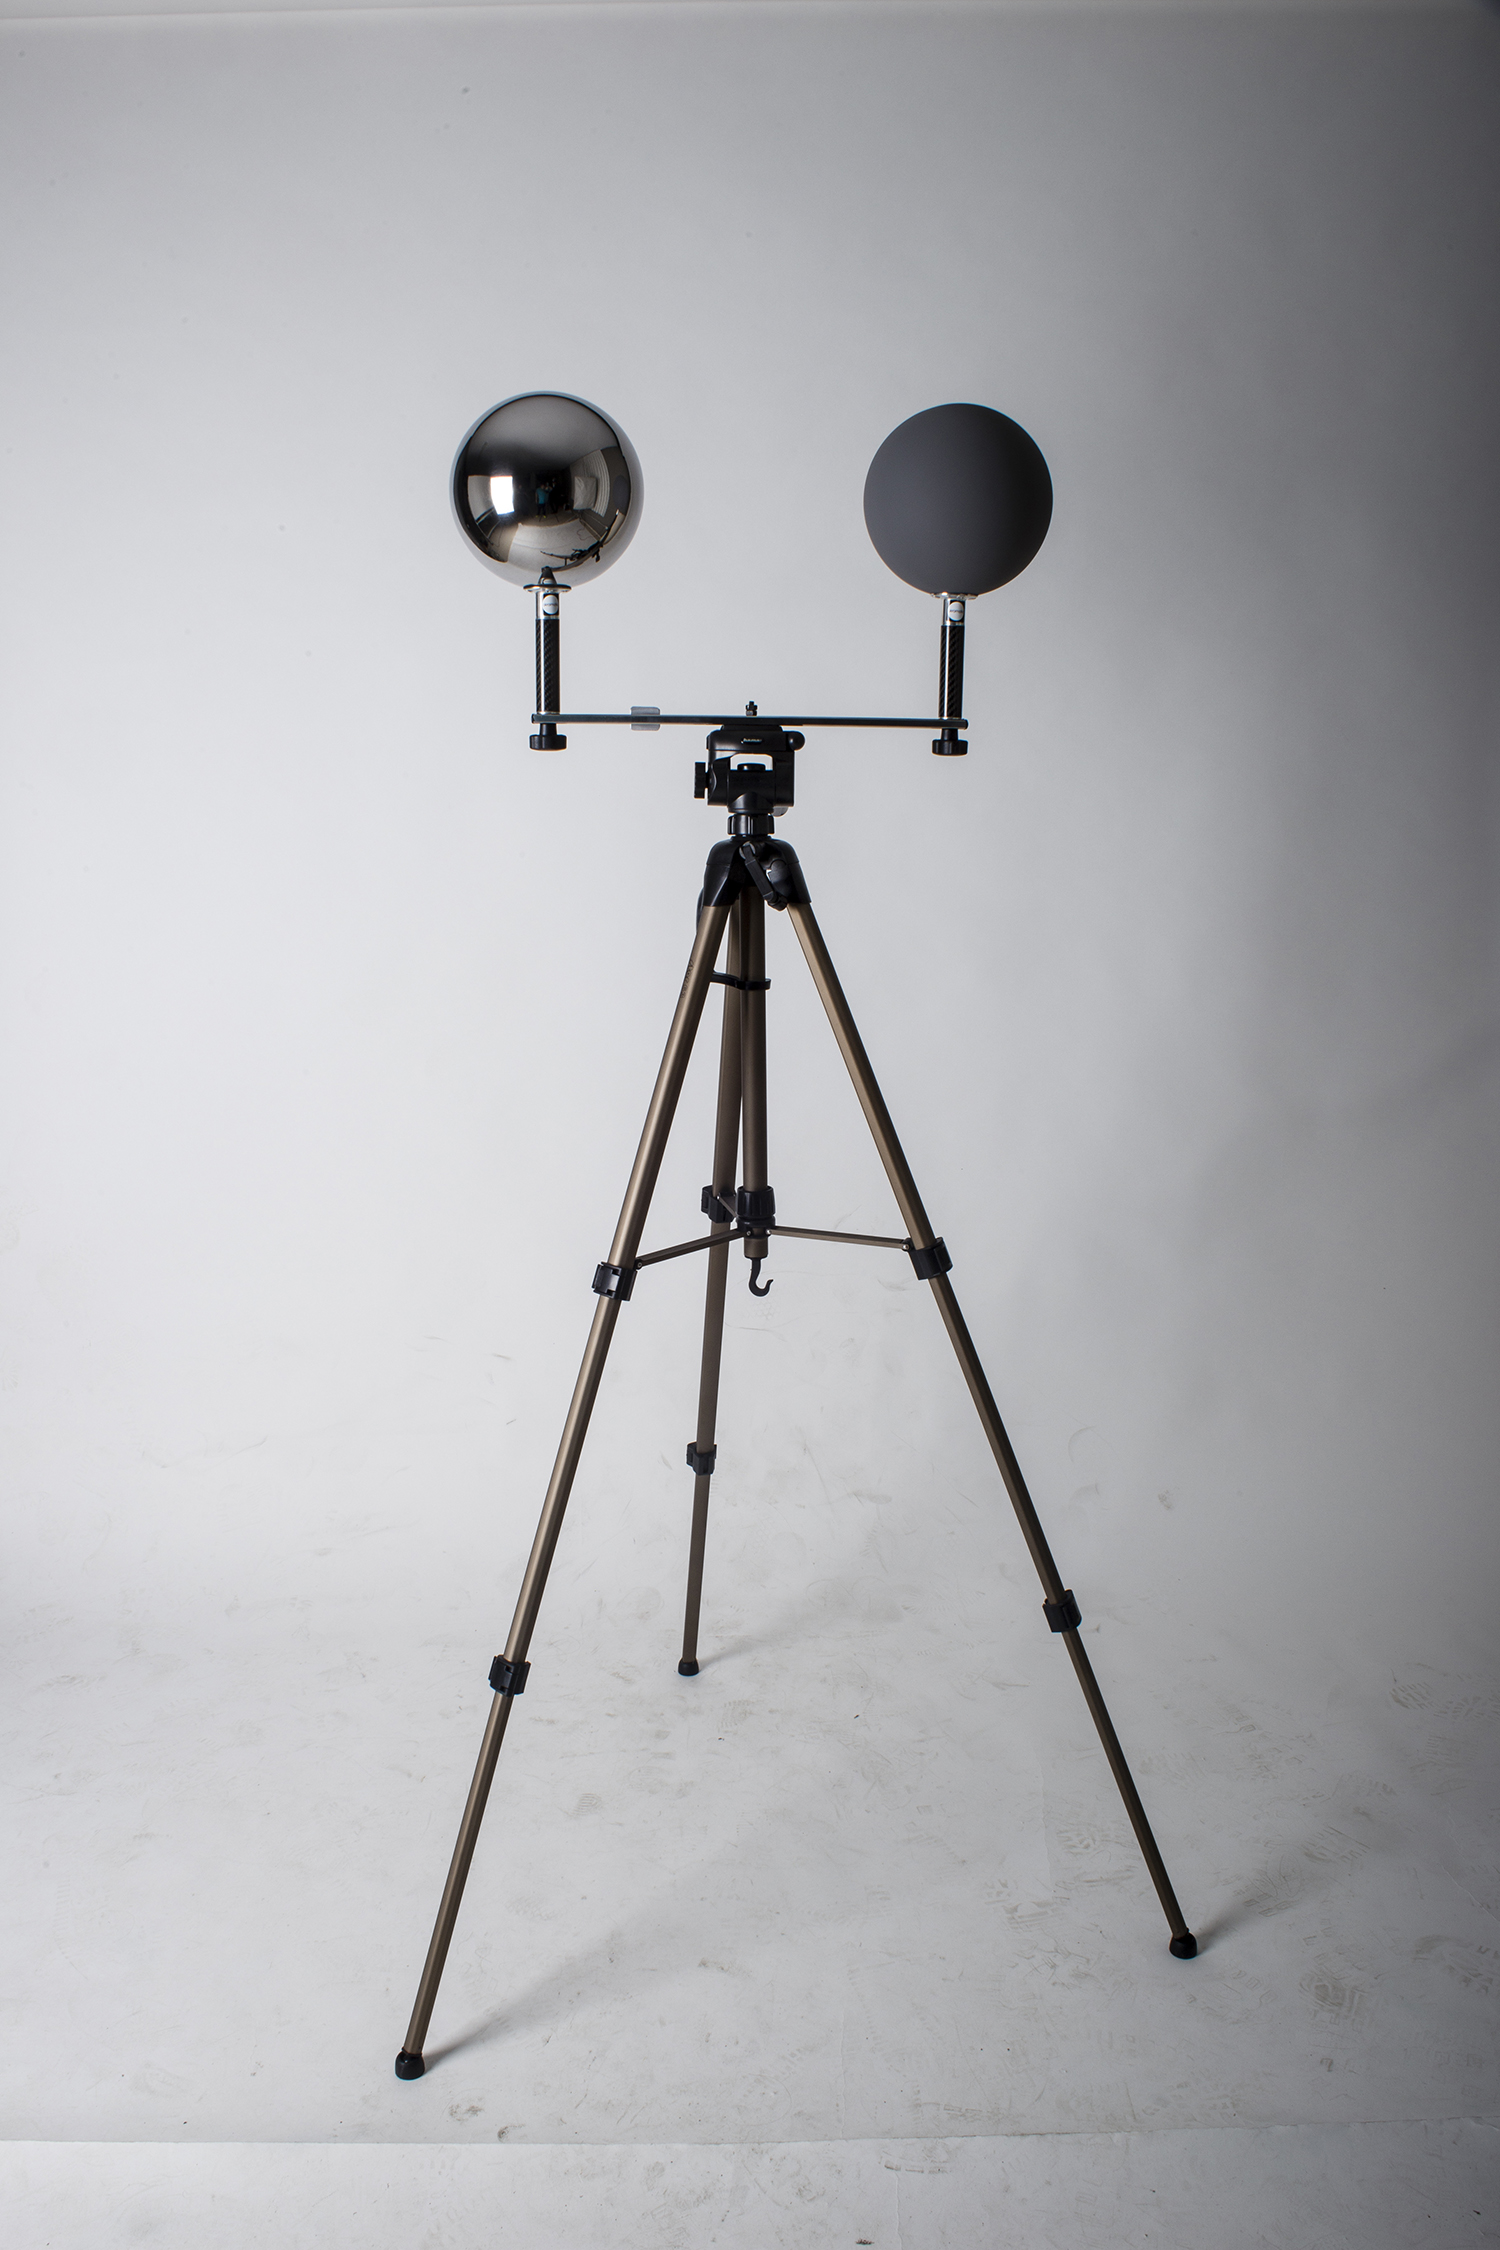
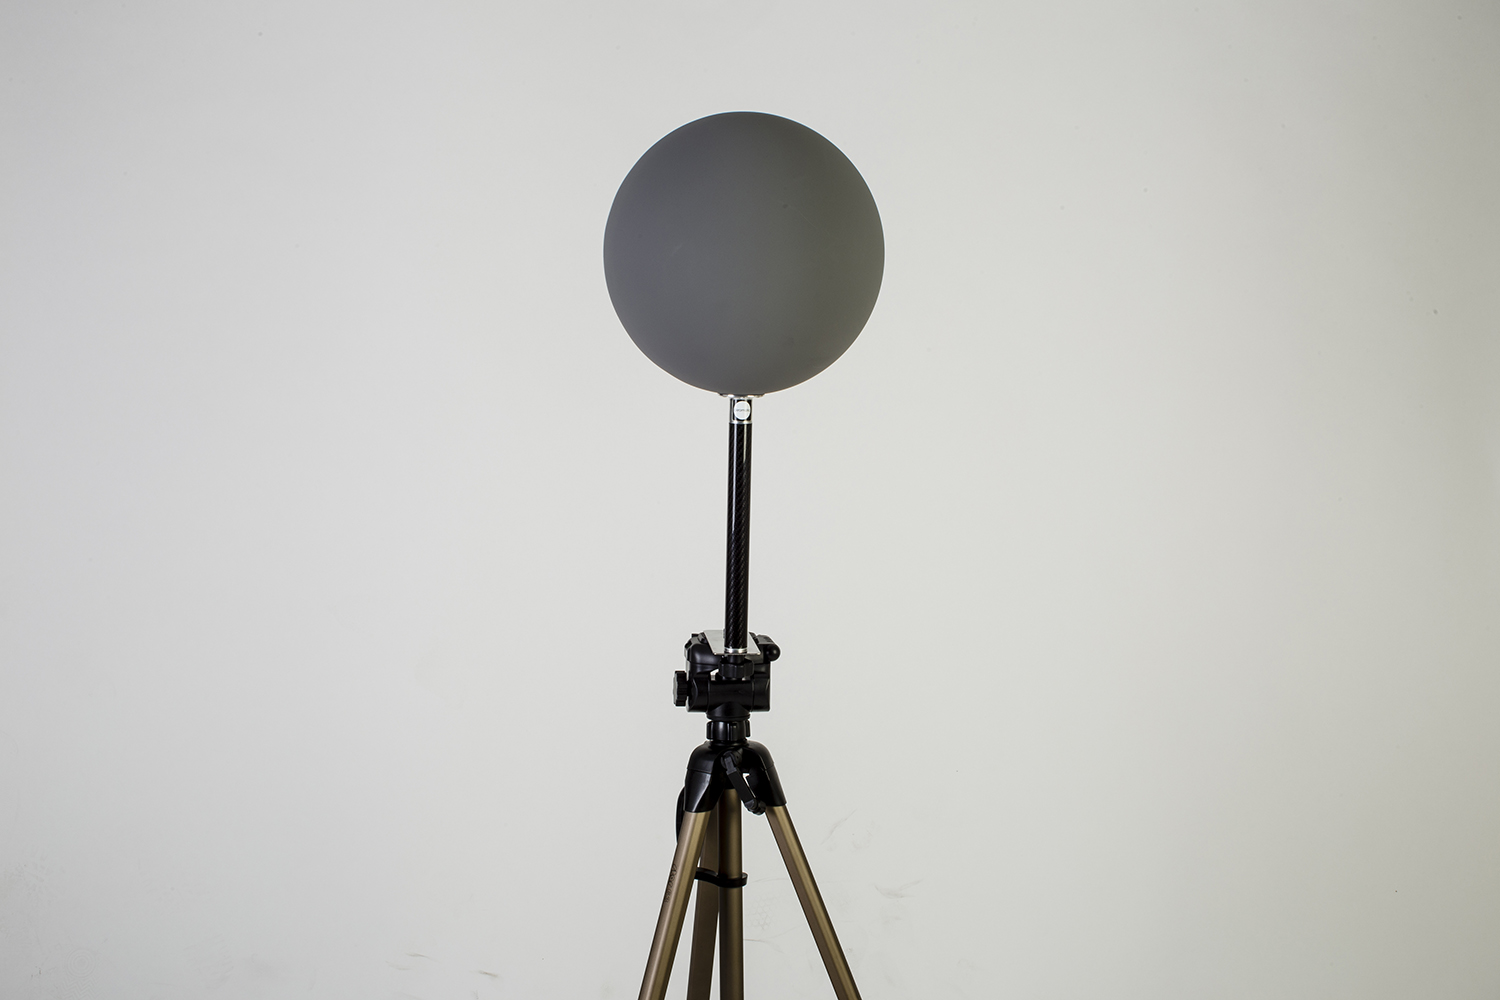
As you can see below, these tripods offer great flexibility in terms of height and expansion. They are tiny when compact and middle sized when expanded completely. Check the features on Manfrotto's site.
I also use these tripods as support for my photogrammetry turntable.
Moving around with such a small setup has never been so easy.
Obviously I also use them for regular photography. Just attach my camera to the provided ball head and start shooting around the set.
Finally I also use Befree to mount my Nodal Ninja. Again you need to be careful while bracketing and always use a remote trigger, but having the possibility to move around with two or three of these tripods is just great.
They have two different version (both in aluminium and carbon fibre). Both of them come with ball head and quick release plate. But, the ball head in the smallest tripod is fixed, can't be removed. Which means a lot of limitations because you won't be able to attach most of the accessories normally used for VFX.
Central Saint Martins free HDRI /
I shot another HDRI for Akromatic that you can download for free for your look-dev and lighting tests.
Check it out at the Akromatic website.
Akromatic's workshop /
Just a few photos from the Akromatic's workshop, working on our spheres for VFX.
Central Saint Martins free HDRI /
HDRIs at Tate Modern /
A couple of HDRI maps that I shot at Tate Modern last week.
You can download them for free in the akromatic website.
Shipping 3/8 adaptors /
On behalf of akromatic.
We are shipping our new 3/8 adaptors that can fit all of our Lighting Checker handles. This is the best way to attach any of our Lighting Checkers individually to any standard 3/8 professional tripod.
This adaptor is included when purchasing Lighting Checker "Mono" from our online store.
If you need to buy additional adaptors for other kits or other purposes, you can buy them as well in our store.
These 3/8 adaptors are made of high quality aluminium.
Akromatic 3/8 adaptors /
In order to improve our custom plate solutions to attach akromatic spheres on your tripod, we came out with the akromatic adaptor, which will allow you to attach all of our spheres and carbon fibre handles to any tripod with standard 3/8 attachment.
We'll be sending this adaptor with our akromatic kits very soon.
See it in action.
Visit akromatic.com for more information about this product.
Akromatic mini base available /
The "akromatic mini base" is already available here. Shipping worldwide as usual.
Akromatic pictures from the studio /
Just a few images of our Akromatic productos during a look-development session for VFX.

Ellenborough Park Sunrise /
I shot a new HDRI panorama for 3D Lighting and Look-development for akromatic.com
Check it out here, it's free!
Akromatic base /
As VFX artists we always need to place our color charts and lighting checkers (or practical spheres) somewhere on the ground while shooting bracketed images for panoramic HDRI creation. And we know that every single look-development and / or lighting artist is going to request at least all these references for their tasks back at the facility.
I'm tired of seeing my VFX peers working on set placing their lighting checkers and color charts on top of their backpacks or hard cases to make them visible on their HDRIs. In the best scenario they usually put the lighting checkers on a tripod with it's legs bended.
I've been using my own base to place my lighting checkers and all my workmates keep asking me about it, so it's time to make it available for all of you working on set on a daily basis.
The akromatic base is light, robust and made of high quality stainless steel. It is super simple to attach our lighting checkers to it and keep them safe and more important, visible in all your images. Moving all around the set with your lighting checkers and color charts from take to take is now simple, quick and safe.
The akromatic base is compatible with our lighting checkers "Mono" and "Twins".
London Bridge Underground IBL /
I shot a new high resolution HDRI panorama for akromatic.com
It is completely free and it comes with clean plates, lighting and color references and calibrated IBL light-rigs for arnold and v-ray.
Check it out here.
Turnham Green Park HDRI /
I just published another high resolution HDRI panorama for VFX.
This set includes all the original brackets, HDRI panoramas, lighting and color references for look-development and 3D lighting and an IBL setup ready to use.
Check akromatic's site for information and downloads.
Sunny Boat HDRI panorama /
Sunny Boat HDRI equirectangular panorama.
I've been working on a new series of HDRI equirectangular panoramas for VFX.
Check the first one published on akromatic's site.
akromatic Digital Lighting Checkers for arnold /
Every single facility or 3D artist around the globe have their own way to work with our Lighting Checkers, based on the render engine they use, shaders, pipeline in general. But just to make your life a bit easier, akromatic wants to provide you with a digital version of our Lighting Checkers to quickly match our physical version.
In this case we are offering you digital akromatic Lighting Checkers for arnold render.
We'll be posting other render engines soon.
Download here.
New akromatic lighting checkers /
News from akromatic.
"Based on the feedback and requirements of some VFX Facilities, we decided to release a new flavour of our calibrated paint.
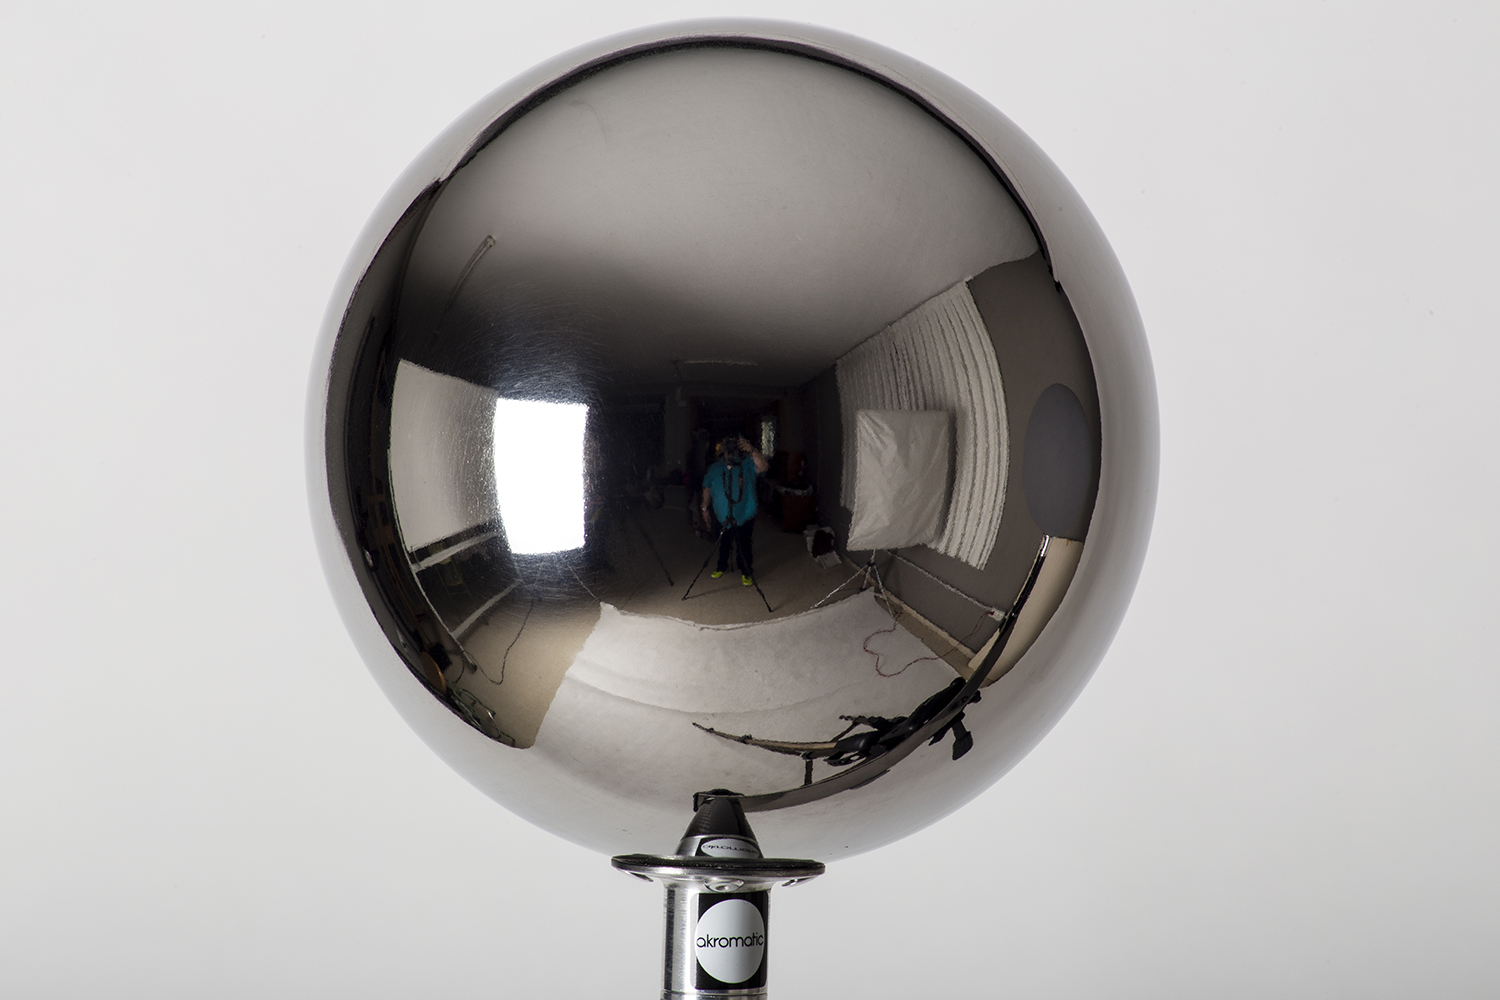
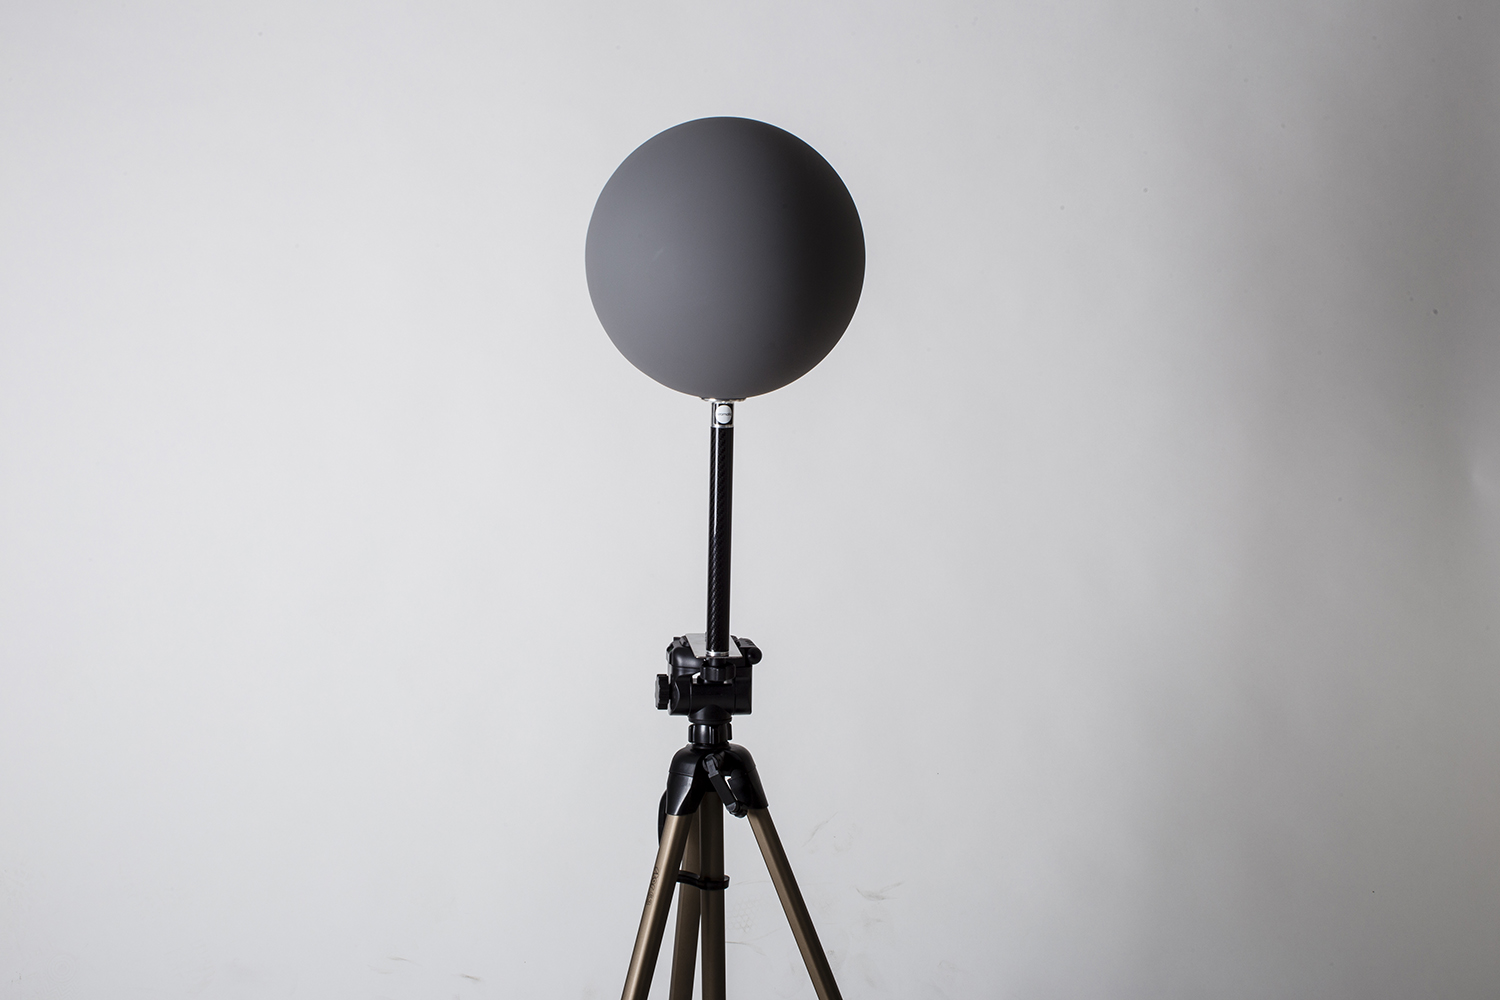
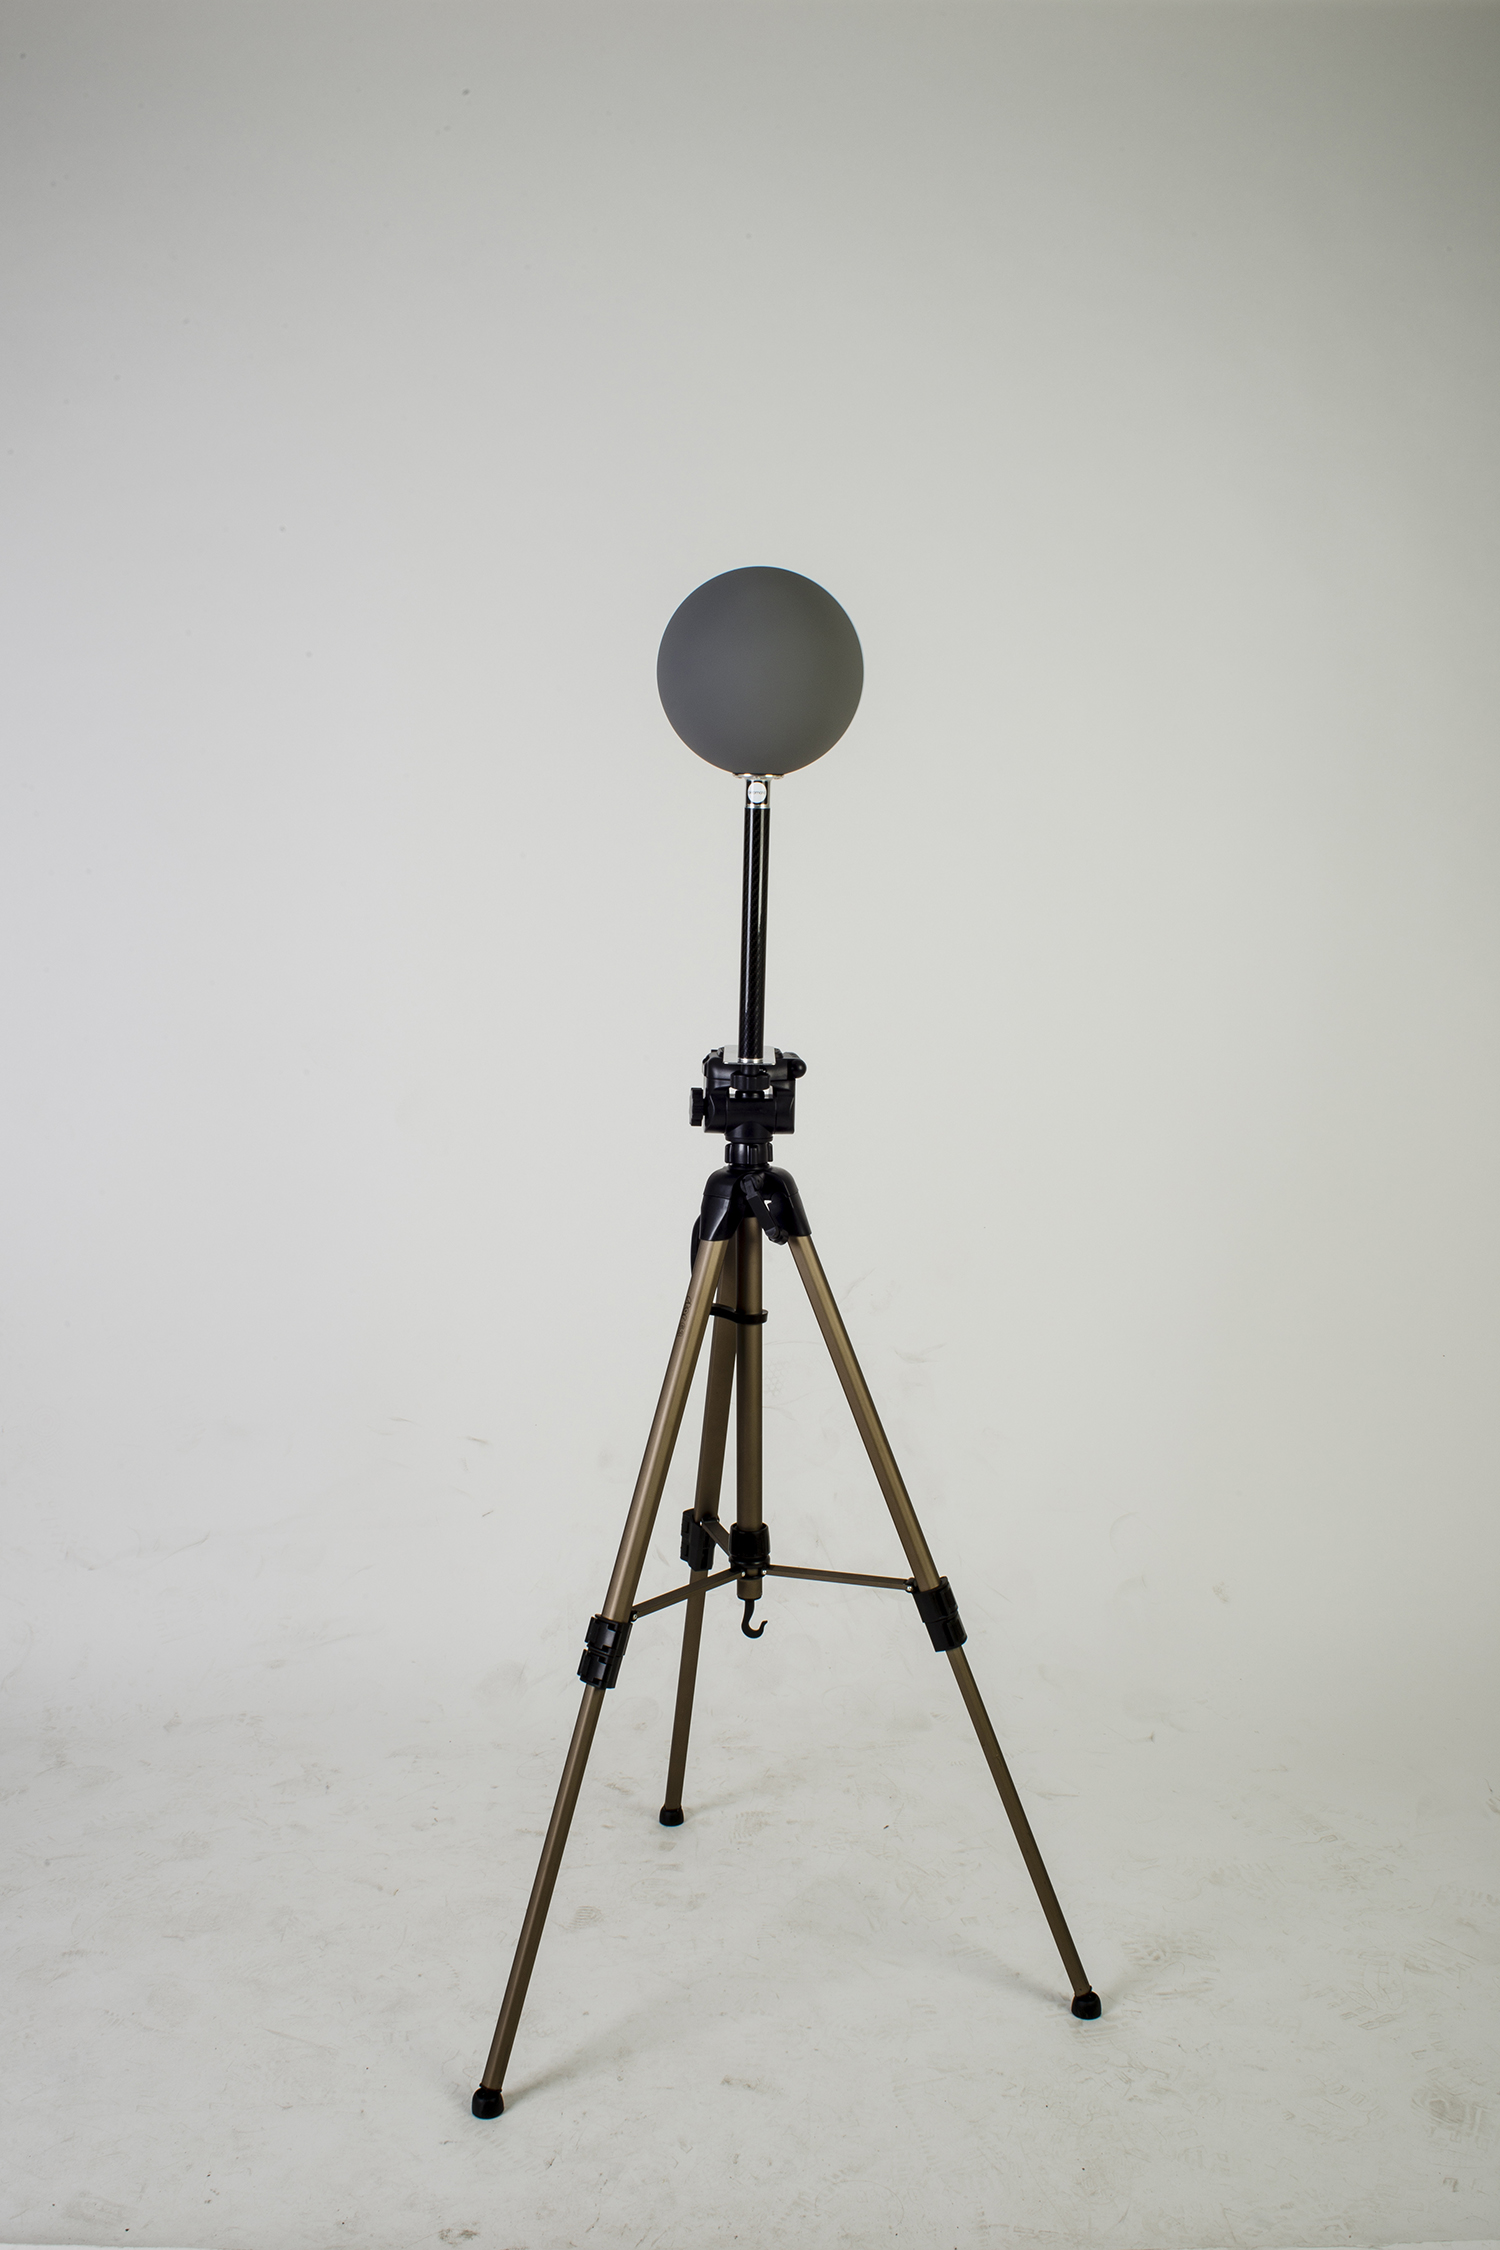
Some Look-Development Artists prefer to use grey balls with higher specular components and other Artists are more comfortable using less shiny spheres.
It is matter of personal preference, so let us know which one is your flavour.
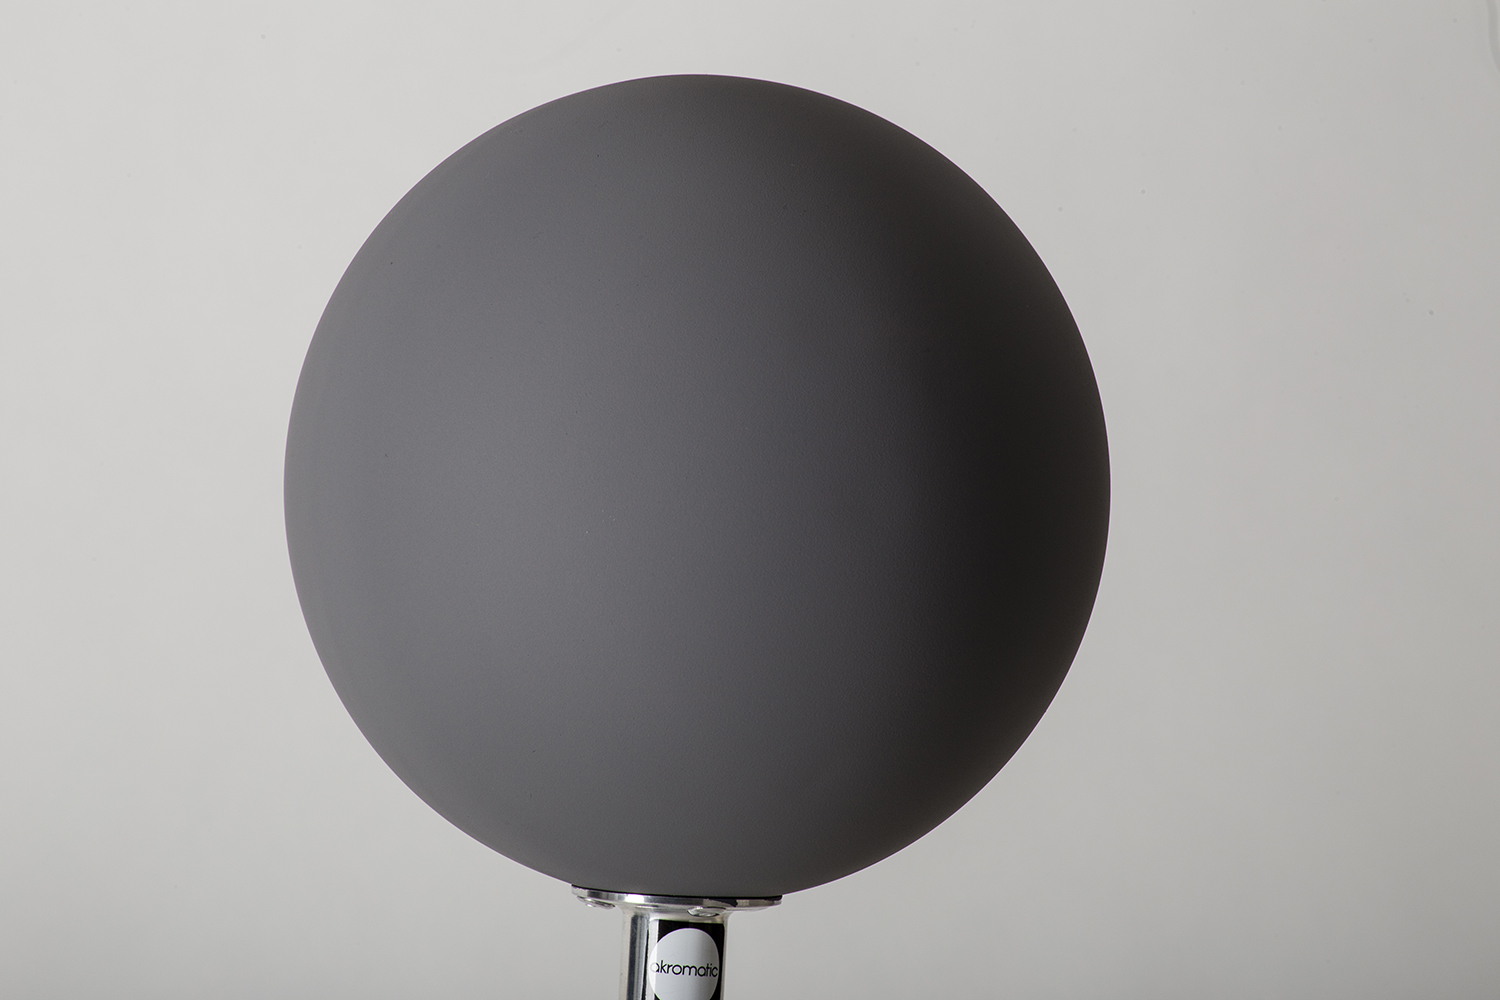
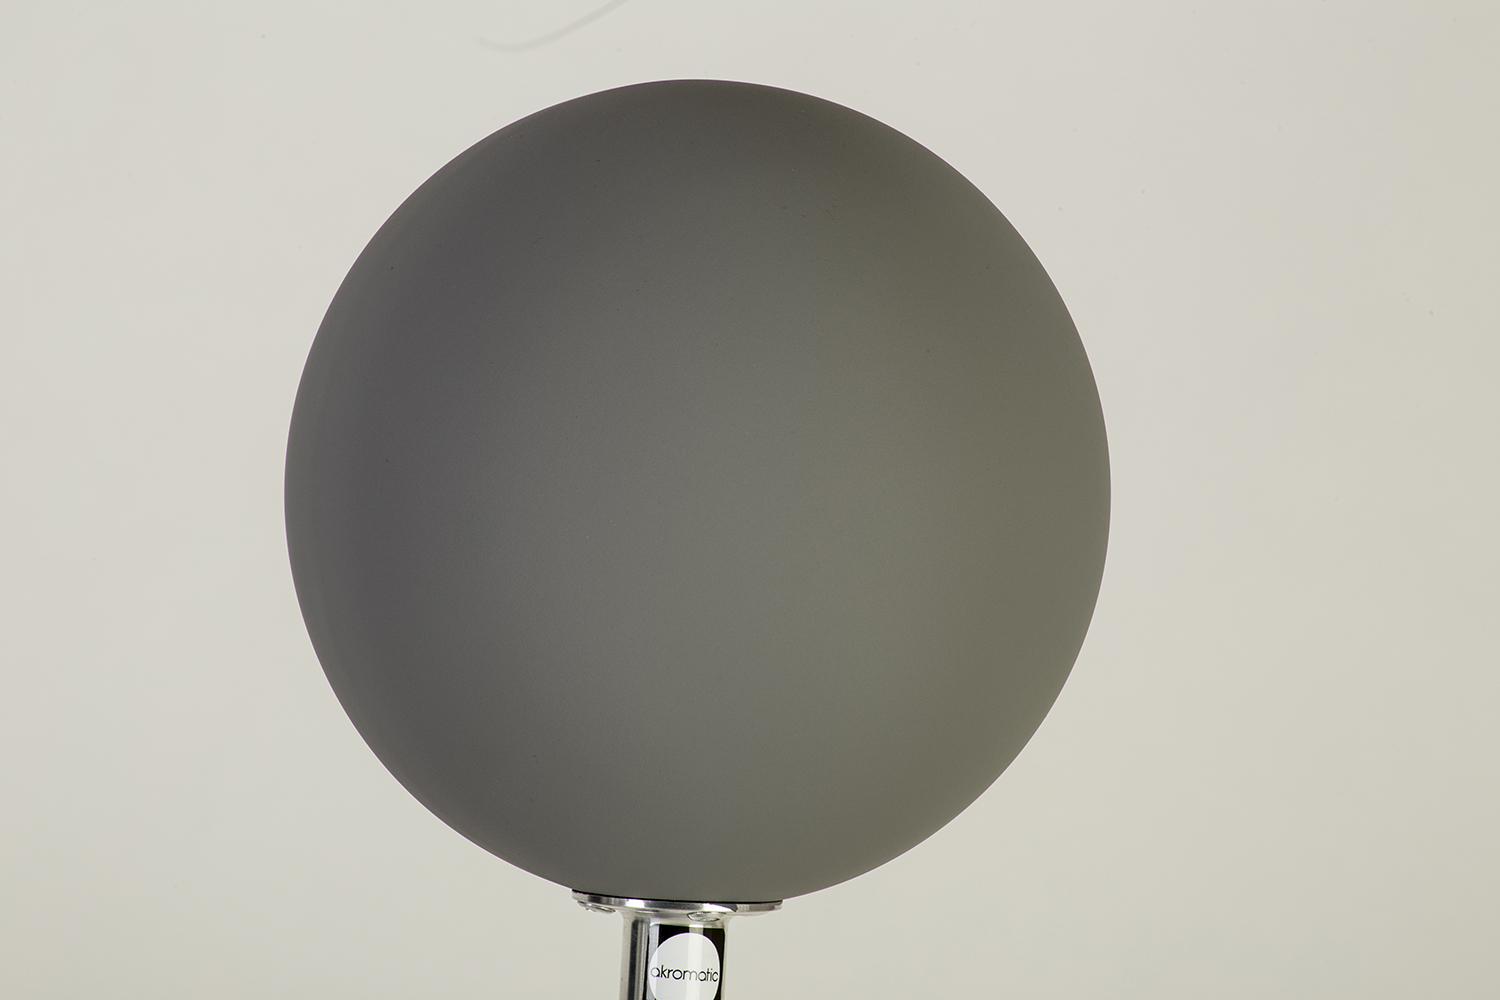
Original spheres: Gloss average around 30%
New spheres: Gloss average around 18%
Both of them are calibrated as Neutral Greys and hand painted."
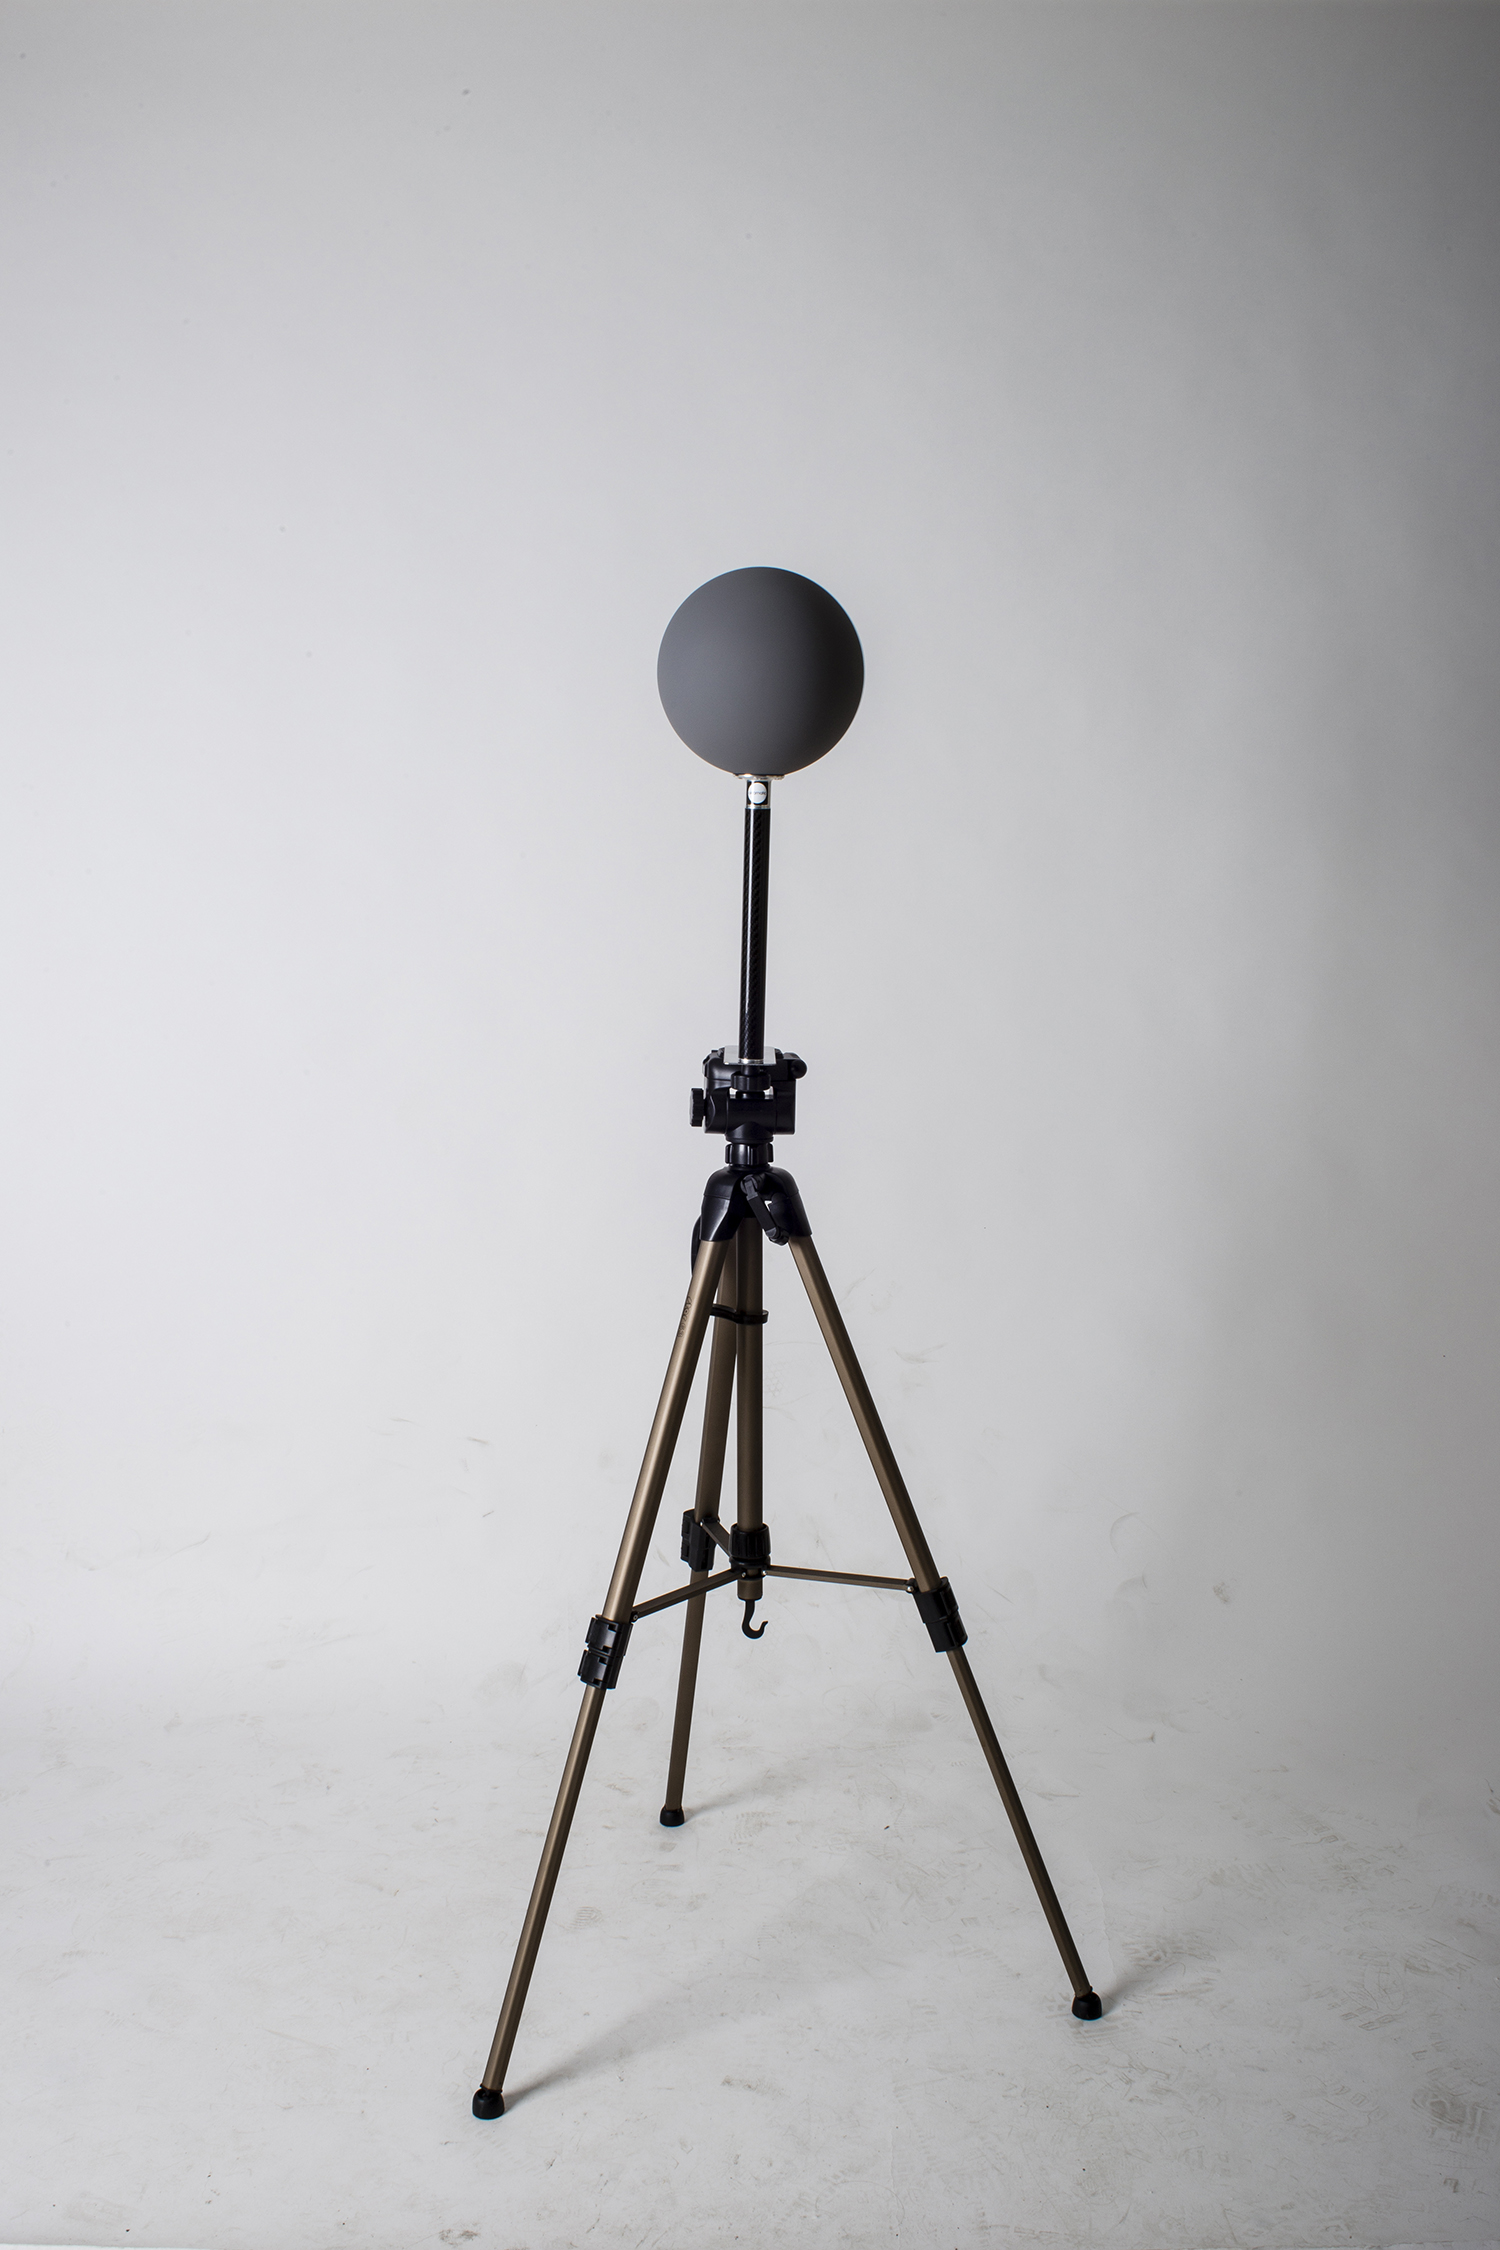
New grey sphere, half hit by the sun, half in shade.
New grey flavour, close up. Soft lighting transition.
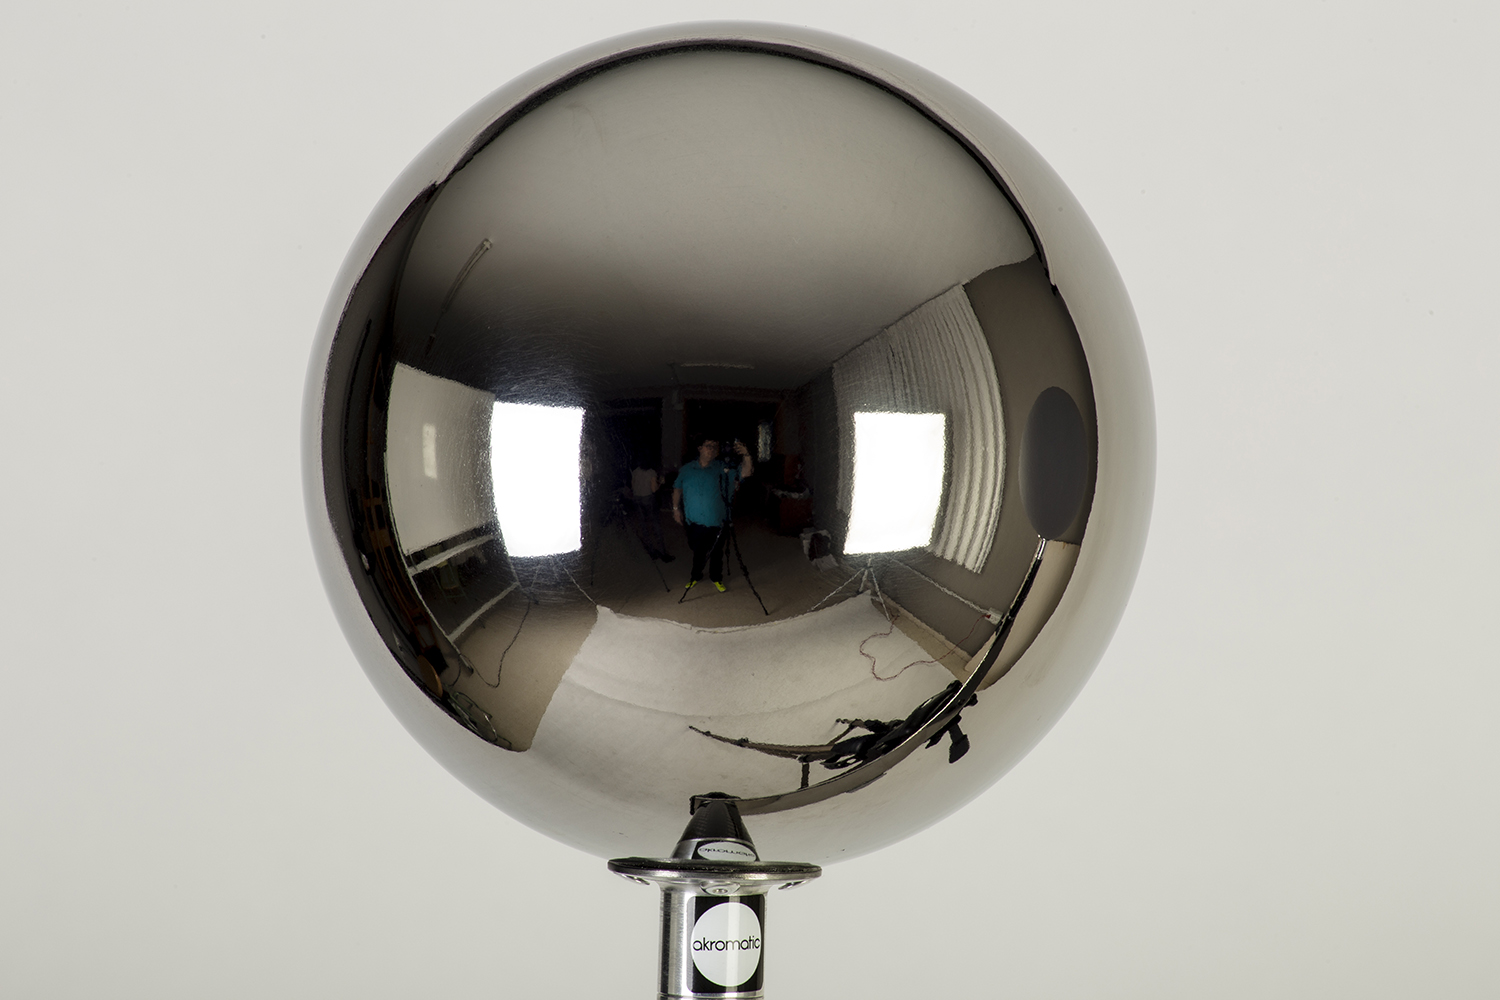
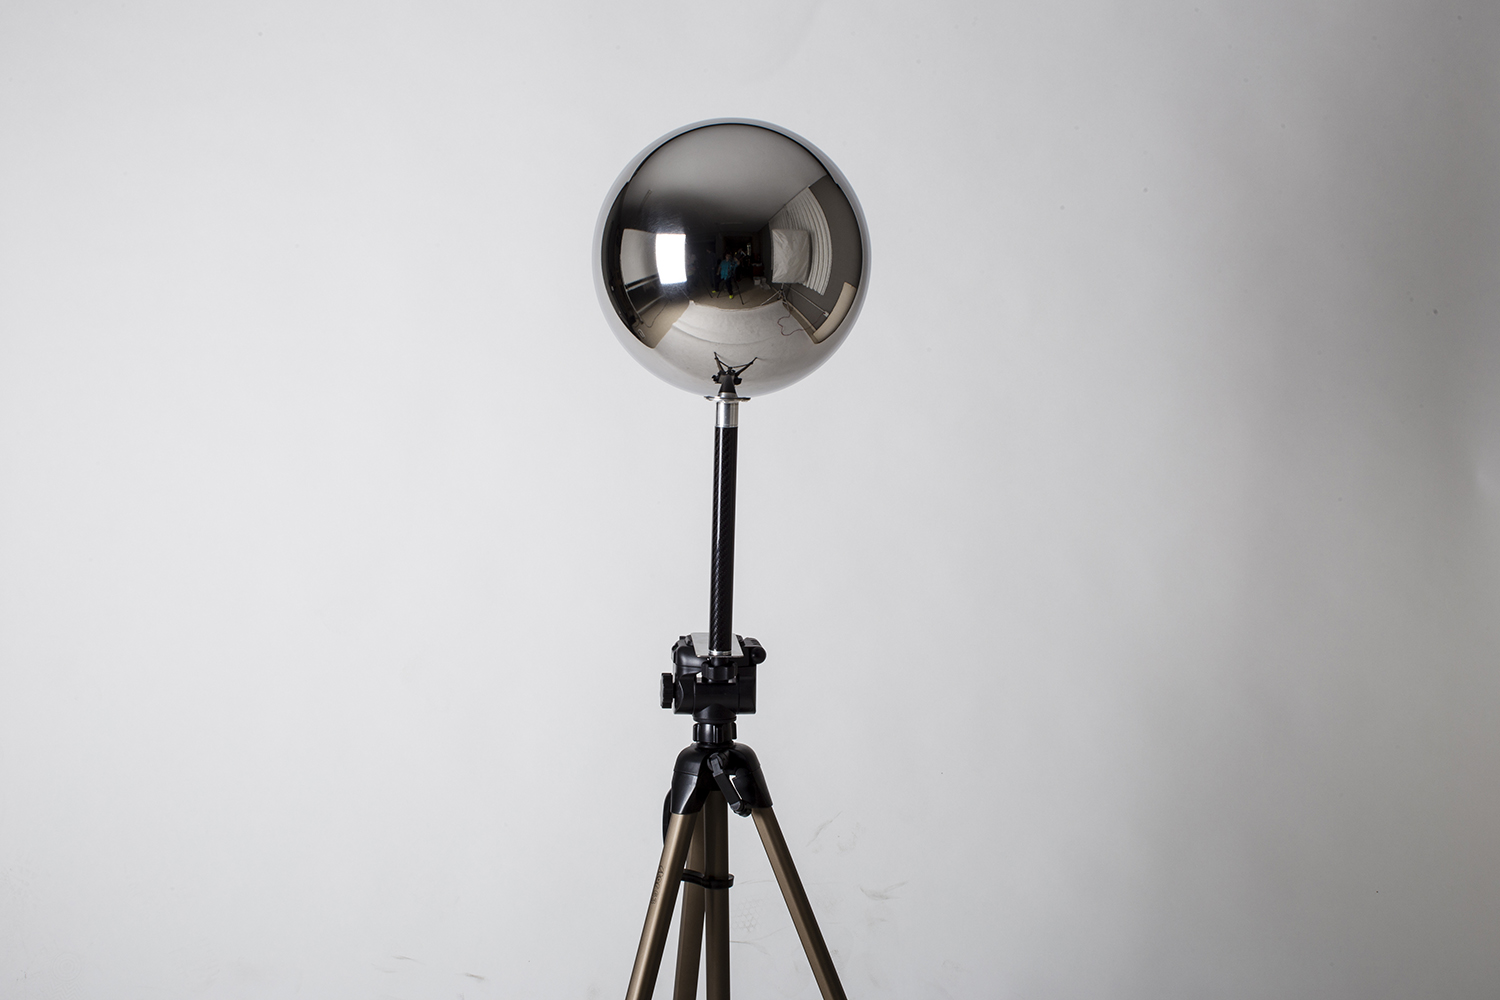
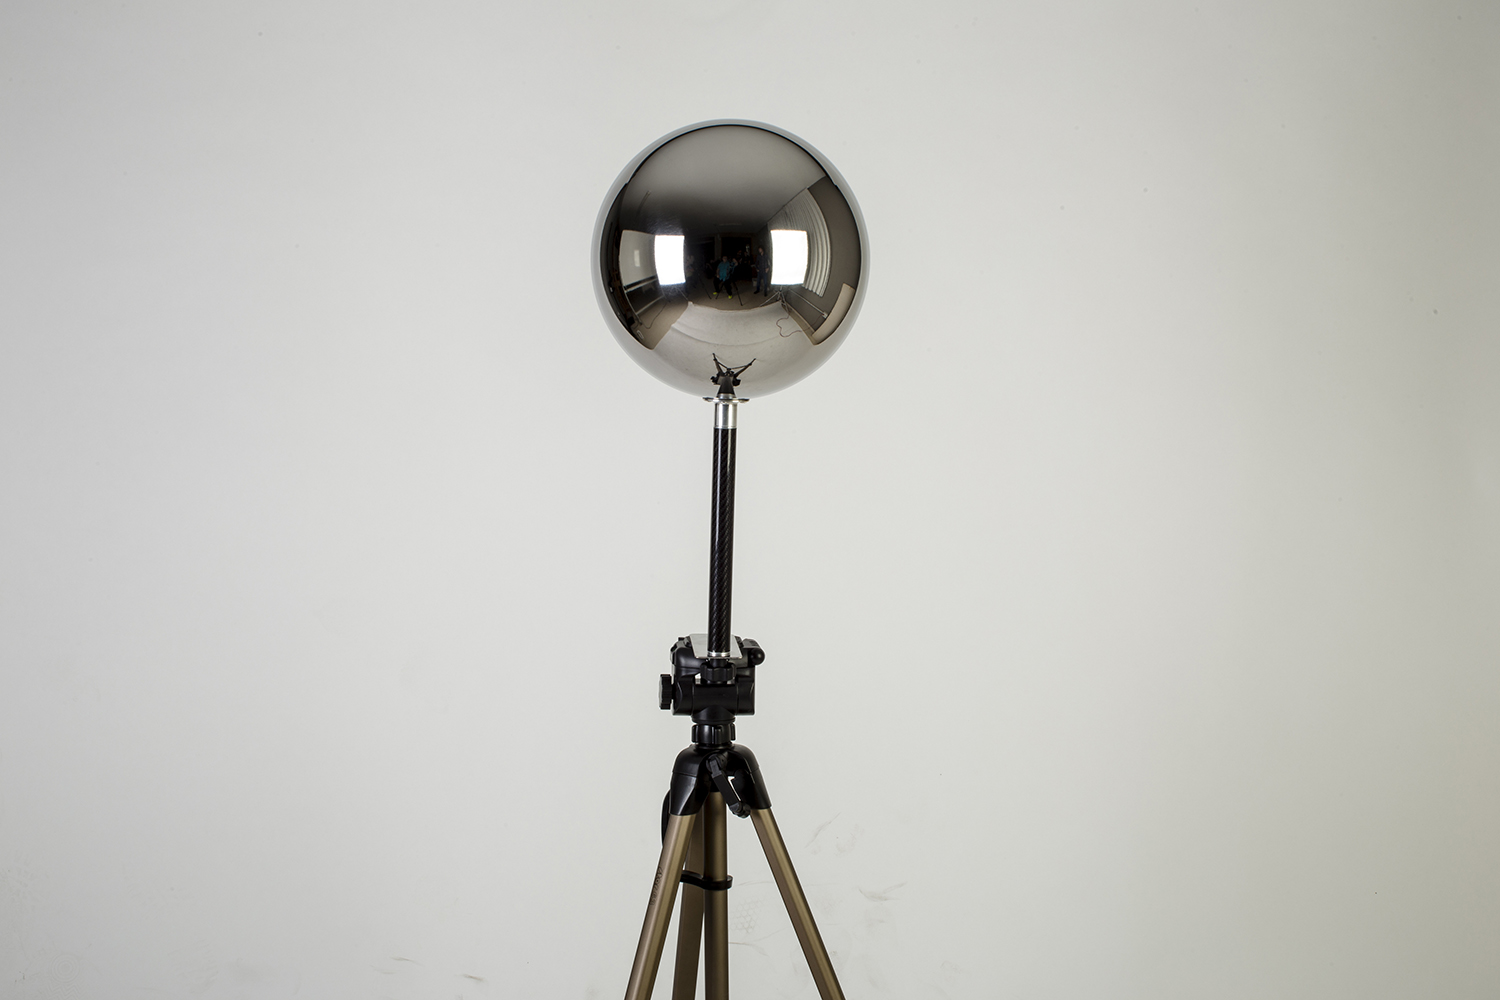
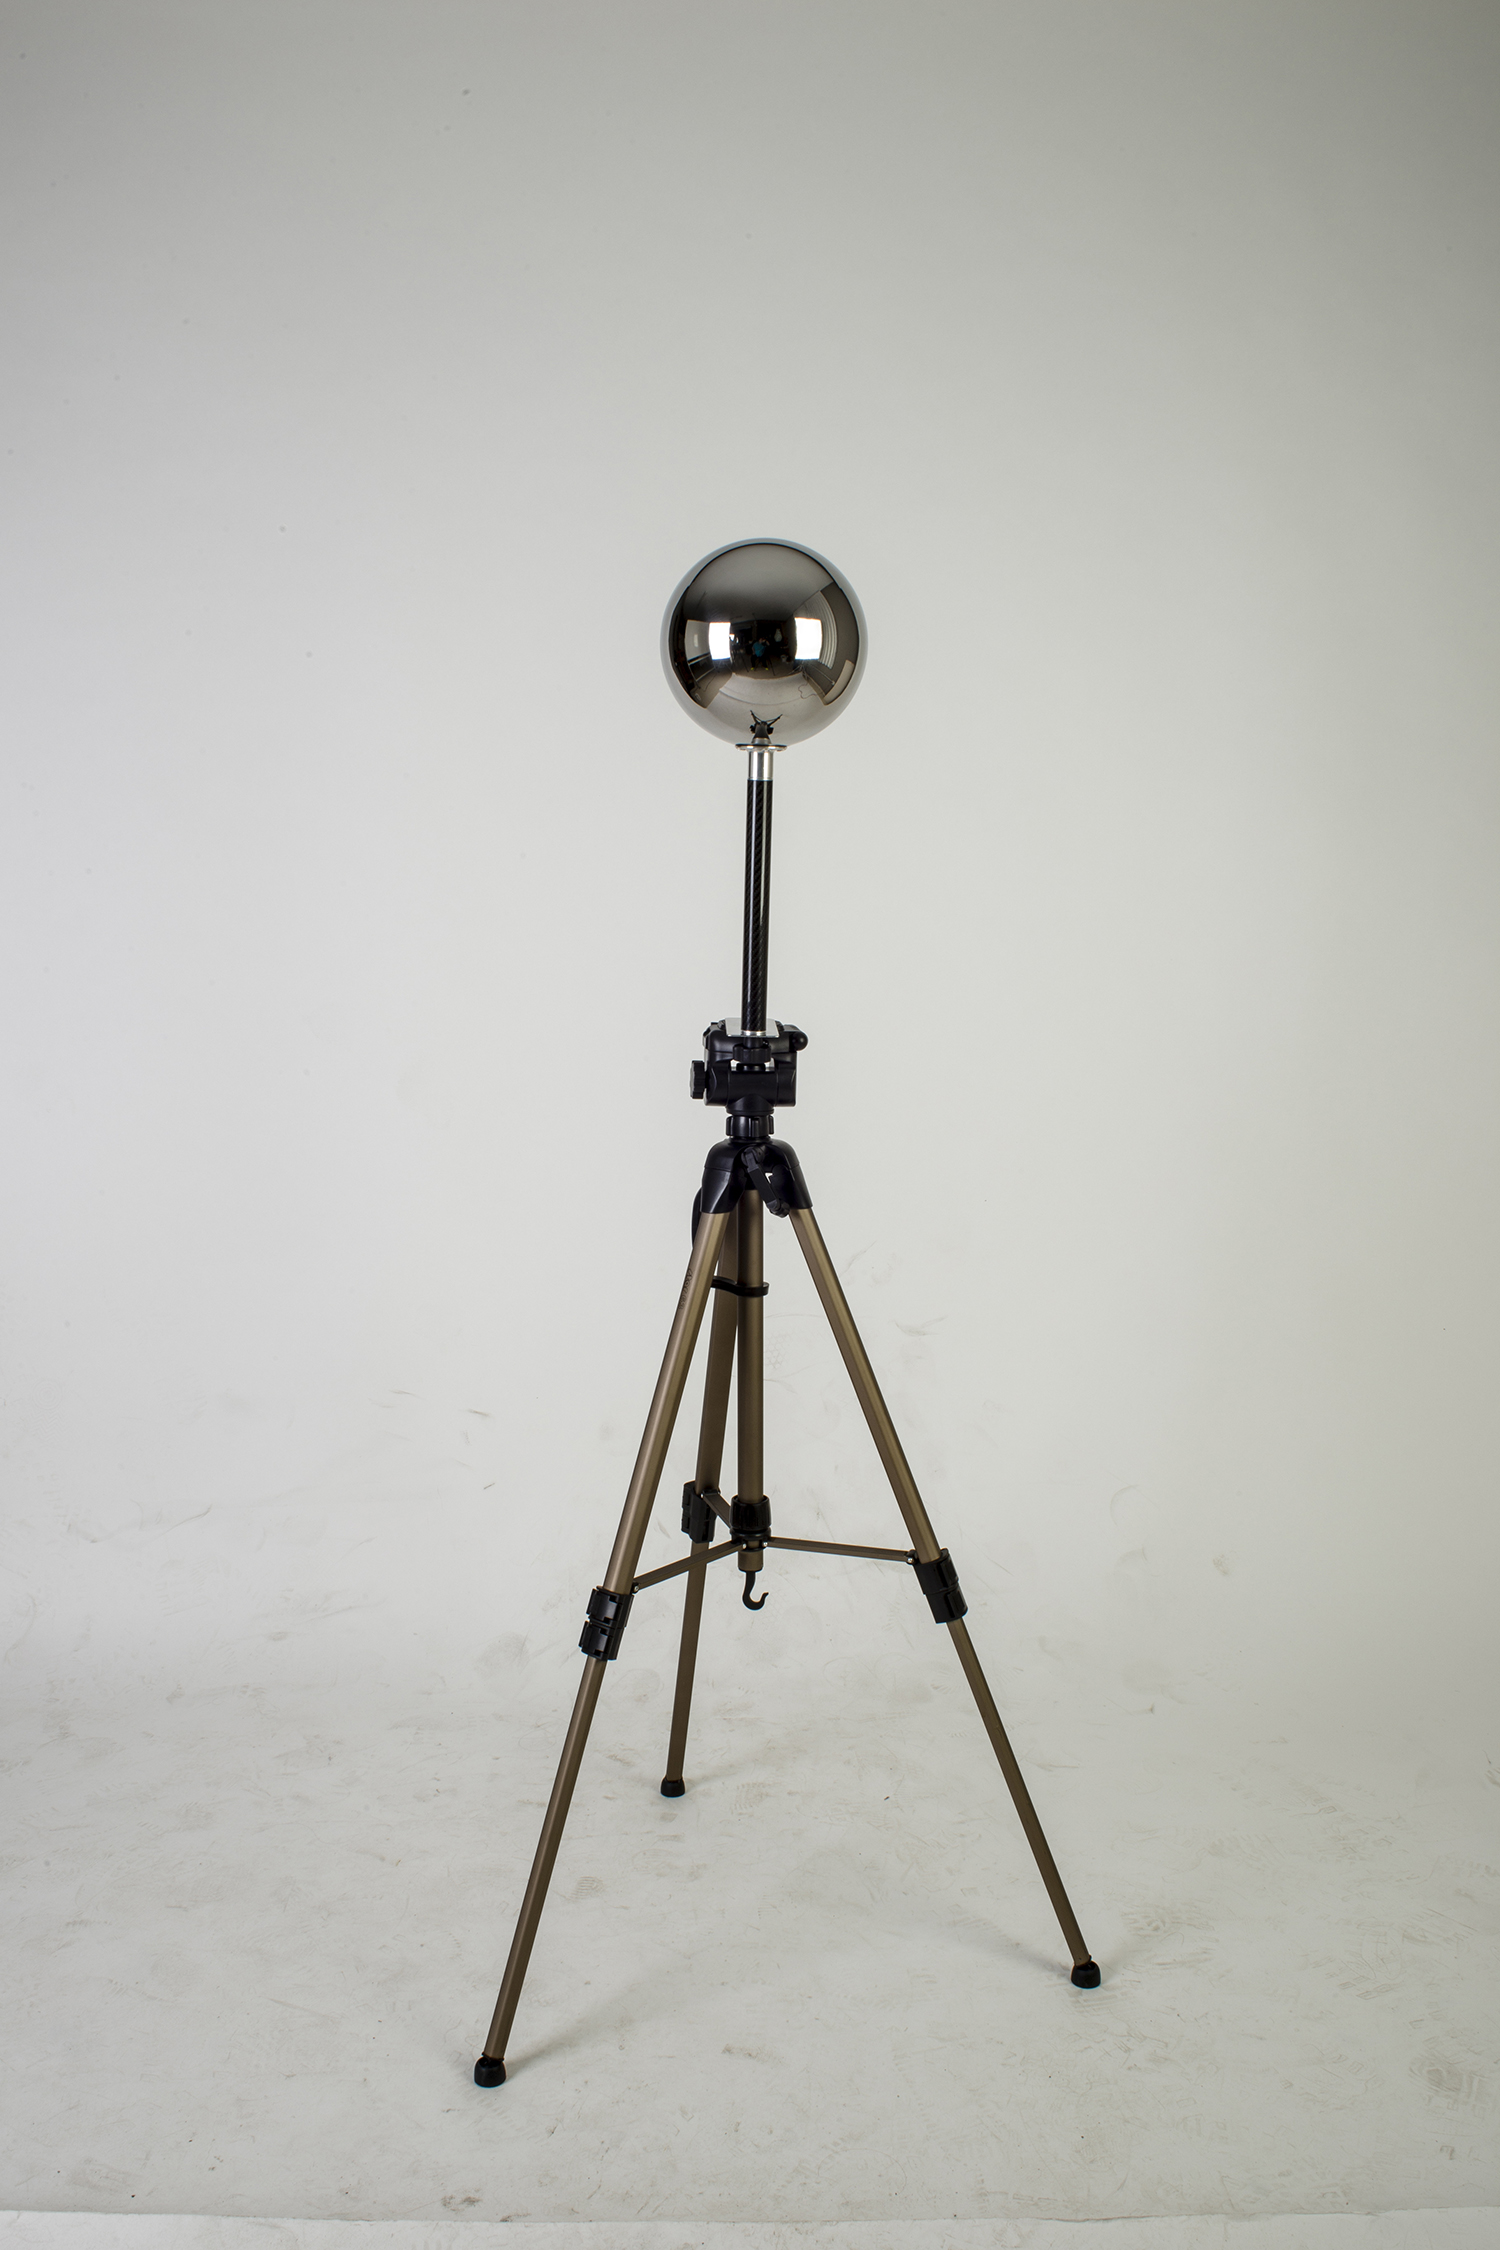
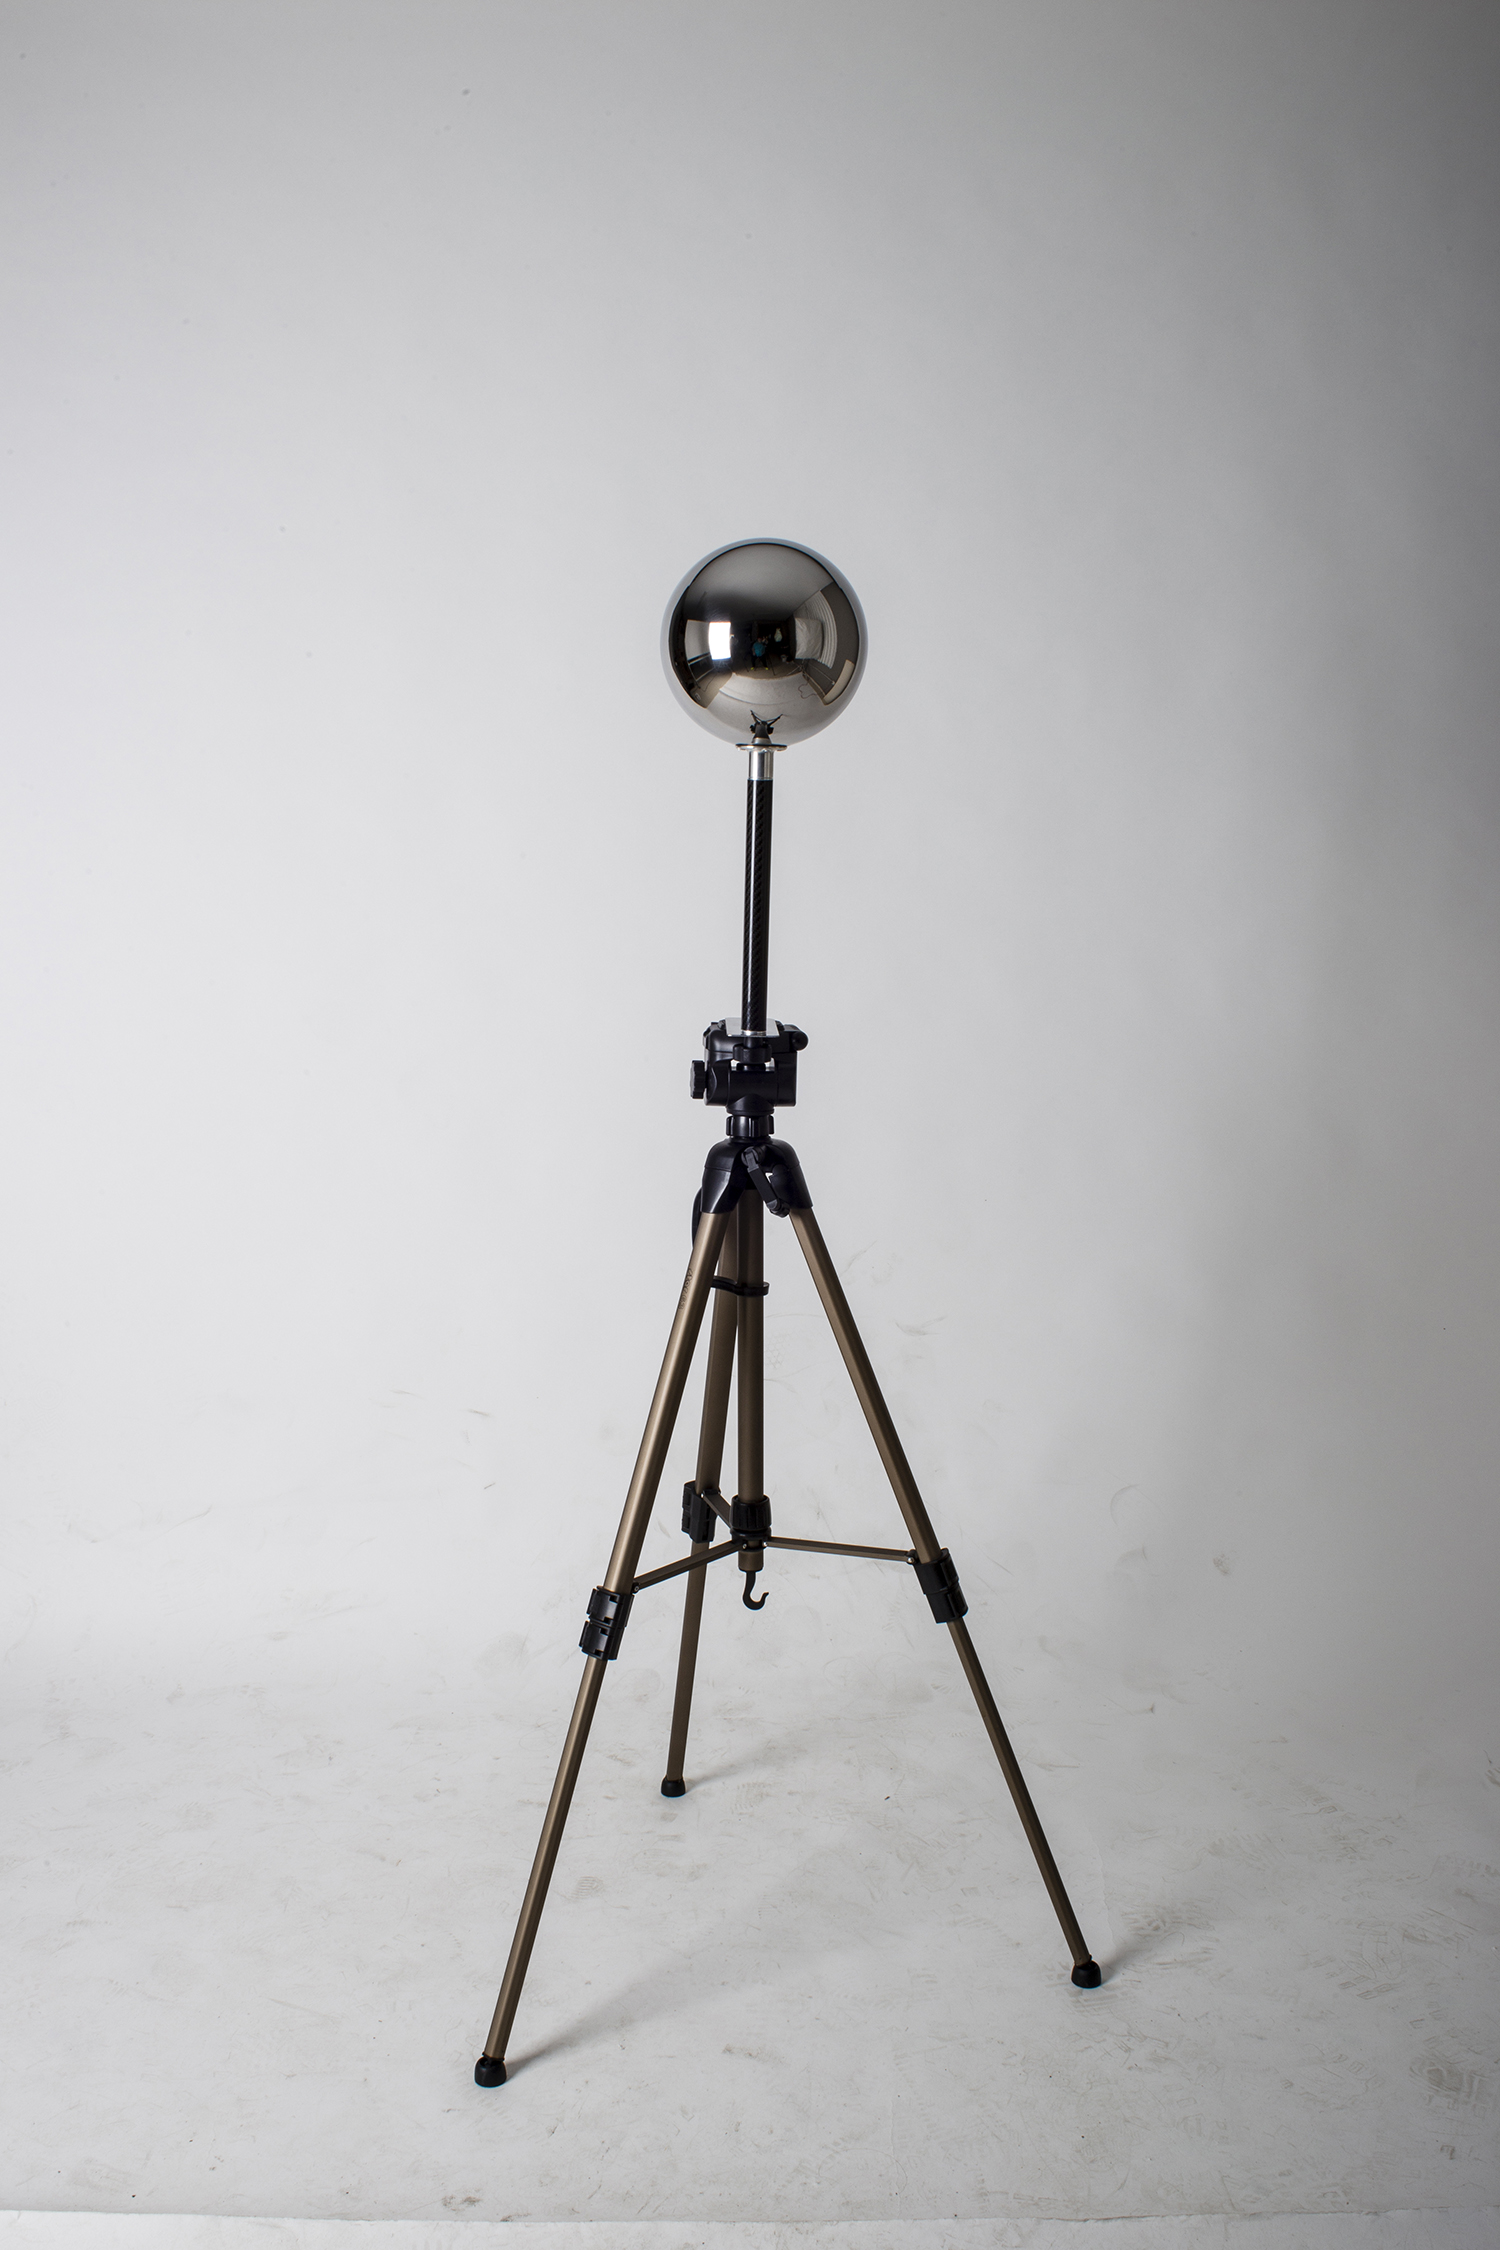
The mirror side remains the same. Carefully polished by hand.
Mirror side, close up.
All the information here.
HDRI: Drawing Room /
We have a new high resolution HDRI panorama for VFX at akromatic.com
Check it out here.
Animated HDRI with Red Epic and GoPro /
Not too long ago, we needed to create a lightrig to lit a very reflective character, something like a robot made of chrome. This robot is placed in a real environment with a lot of practical lights, and this lights are changing all the time.
The robot will be created in 3D and we need to integrate it in the real environment, and as I said, all the lights will be changing intensity and temperature, some of then flickering all the time and very quickly.
And we are talking about a long sequence without cuts, that means we can’t cheat as much as we’d like.
In this situation we can’t use standard equirectangular HDRIs. They won’t be good enough to lit the character as the lighting changes will not be covered by a single panoramic image.
Spheron
The best solution for this case is probably the Spheron. If you can afford it or rent it on time, this is your tool. You can get awesome HDRI animations to solve this problem.
But we couldn’t get it on time, so this is not an option for us.
Then we thought about shooting HDRI as usual, one equirectangular panorama for each lighting condition. It worked for some shots but in others when the lights are changing very fast and blinking, we needed to capture live action videos. Tricks animating the transition between different HDRIs wouldn’t be good enough.
So the next step it would be to capture HDRI videos with different exposures to create our equirectangular maps.
The regular method


The fastes solution would be to use our regular rigs (Canon 5D Mark III and Nikon D800) mounted in a custom base to support 3 cameras with 3 fisheye lenses. They will have to be overlapped by around 33%.
With this rig we should be able to capture the whole environment while recording with a steady cam, just walking around the set.
But obviously those cameras can’t record true HDR. They always record h264 or another compression video. And of course we can’t bracket videos with those cameras.
Red Epic
To solve the .RAW video and the multi brackting we end up using Red Epic cameras. But using 3 cameras plus 3 lenses is quite expensive for on set survey work, and also quite heavy rig to walk all around a big set.
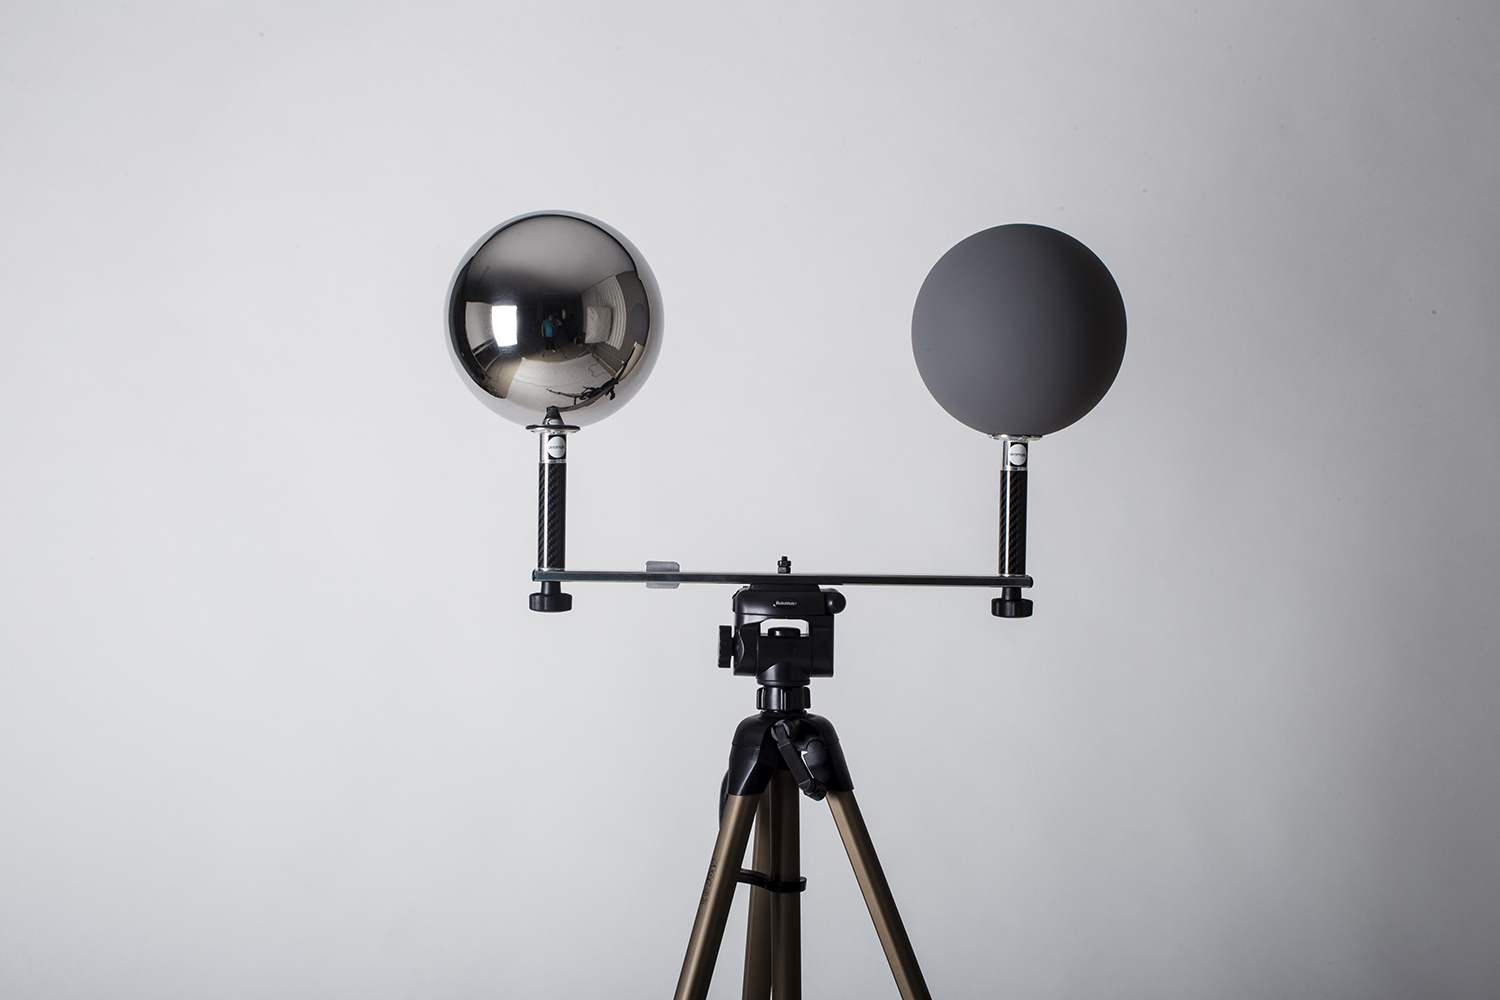
Finally we used only one Red Epic with a 18mm lens mounted in an steady cam, and in the other side of the arm we placed a big akromatic chrome ball. With this ball we can get around 200-240 degrees, even more than using a fisheye lens.
Obviously we will get some distorsion on the sides of the panorama, but honestly, have you ever seen a perfect equirectangular panorama for 3D lighting being used in a post house?
With the Epic we shot .RAW video a 5 brackets, rocedording the akromatic ball all the time and just walking around the set. The final resolution was 4k.
We imported the footage in Nuke and convert it using a simple spherical transform node to create true HDR equirectangular panoramas. Finally we combined all the exposures.
With this simple setup we worked really fast and efficient. Precision was accurate in reflections and lighting and the render time was ridiculous.
Can’t show any of this footage now but I’ll do it soon.
GoPro
We had a few days to make tests while the set was being built. Some parts of the set were quite inaccessible for a tall person like me.
In the early days of set constructing we didn’t have the full rig with us but we wanted to make quick test, capture footage and send it back to the studio, so lighting artists could make some Nuke templates to process all the information later on while shooting with the Epic.
We did a few tests with the GoPro hero 3 Black Edition.
This little camera is great, light and versatile. Of course we can’t shot .RAW but at least it has a flat colour profile and can shot 4k resolution. You can also control the white balance and the exposure. Good enough for our tests.
We used an akromatic chrome ball mounted on an akromatic base, and on the other side we mounted the GoPro using a Joby support.
We shot using the same methodology that we developed for the Epic. Everything worked like a charm getting nice panormas for previs and testing purposes.
It also was fun to shot with quite unusual rig, and it helped us to get used to the set and to create all the Nuke templates.
We also did some render tests with the final panoramas and the results were not bad at all. Obviously these panoramas are not true HDR but for some indie projects or low budget projects this would be an option.
Footage captured using a GoPro and akromatic kit
In this case I’m in the center of the ball and this issue doesn’t help to get the best image. The key here is to use a steady cam to reduce this problem.
Nuke
Nuke work is very simple here, just use a spherical transform node to convert the footage to equirectangular panoramas.
Final results using GoPro + akromatic kit
Few images of the kit